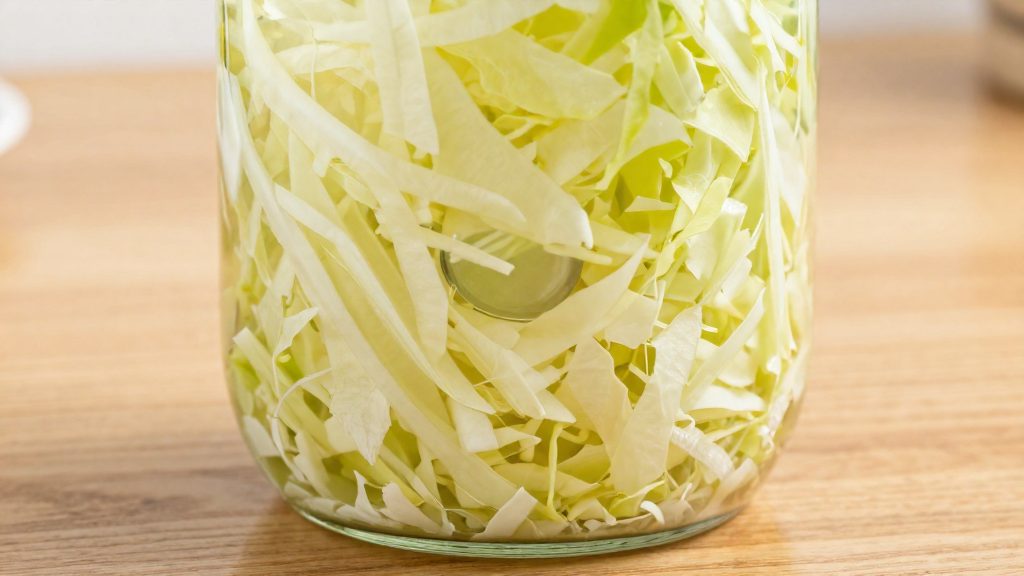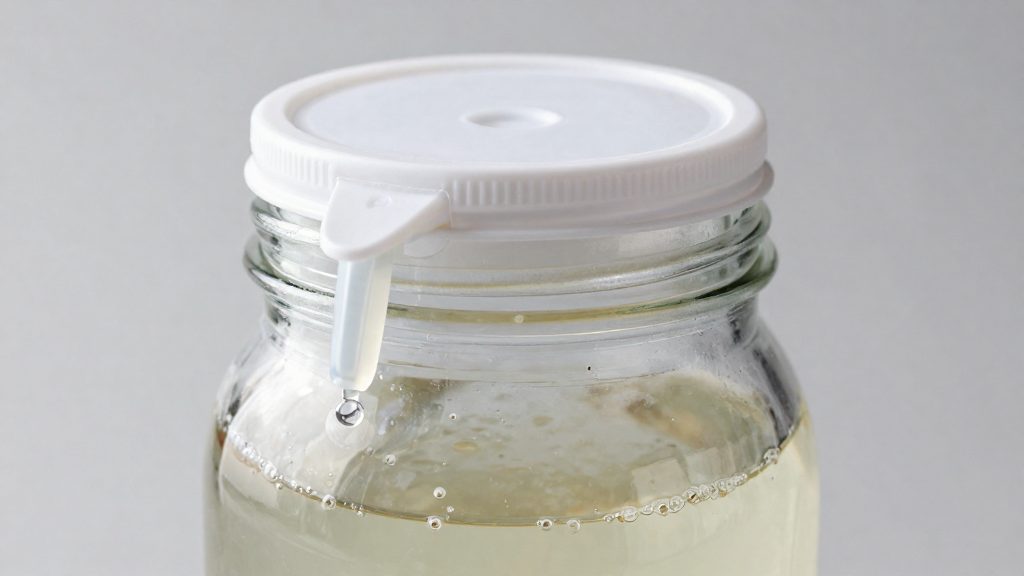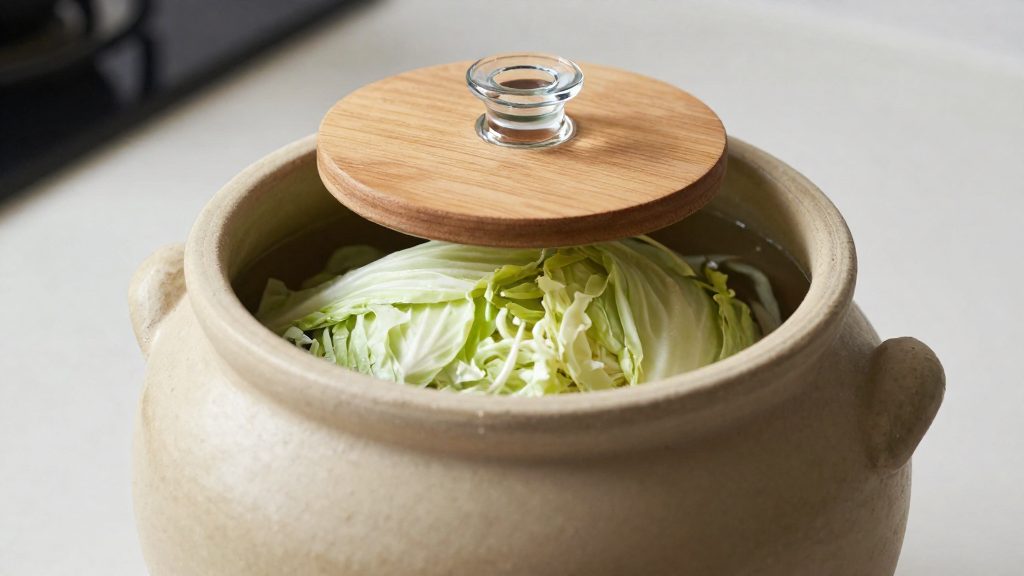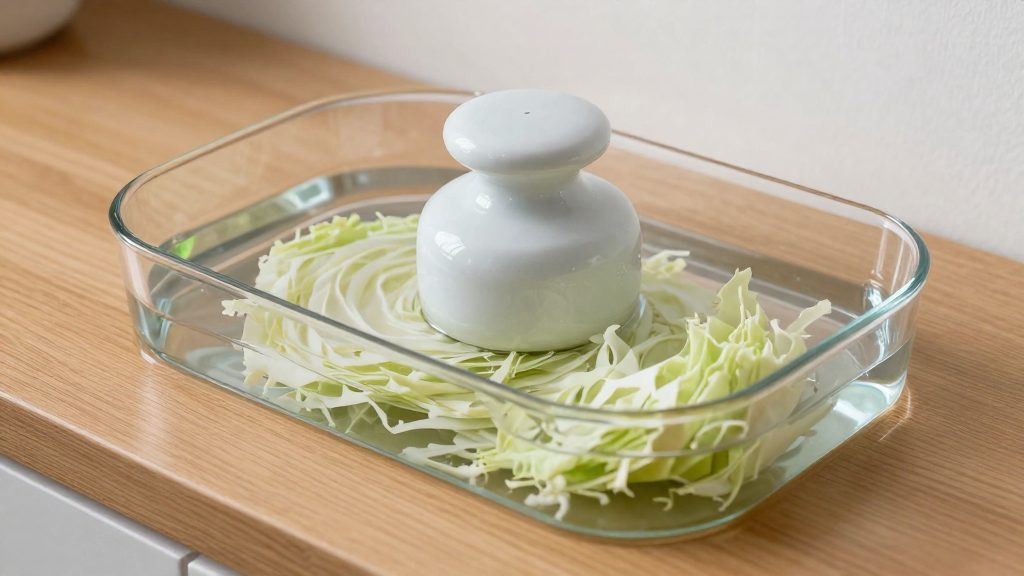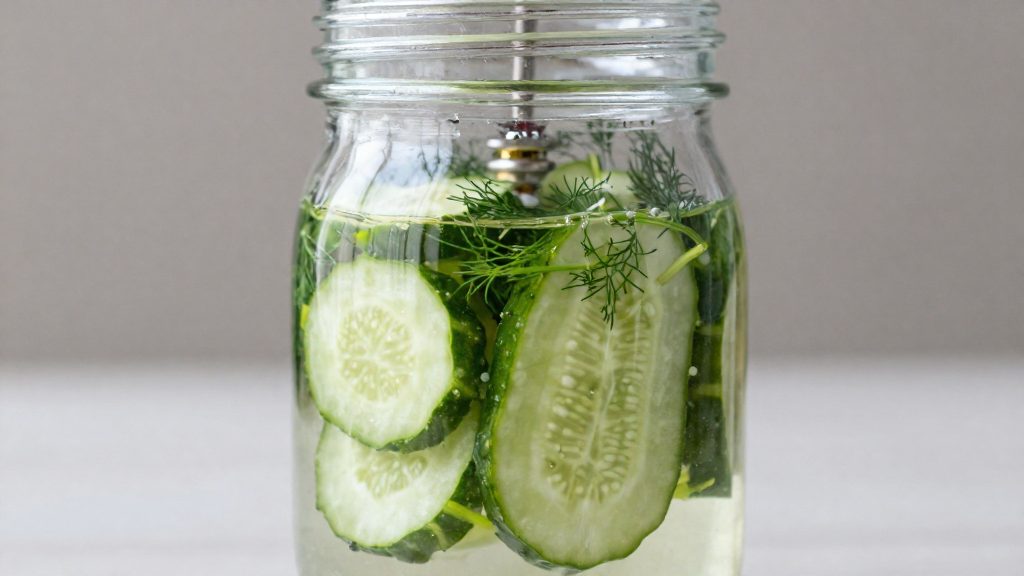
A beginner fermentation kit for mason jars typically includes waterless airlock lids, glass weights and sometimes a wooden tamper, according to BestReviews. The Masontops Complete kit shows a typical set: 4 pickle pipe lids, glass weights and a wooden tamper. The weights hold vegetables under the brine, and the tamper packs them down. The sections below map each component to its role and add the measuring tools that kits often leave out.
What is in a beginner fermentation kit?
Core components of a mason-jar starter kit
| Component | Typical form | Role for a beginner | Example from the sources |
|---|---|---|---|
| Lid | Waterless airlock lid | Closes the jar during fermentation | Masontops: 4 pickle pipe lids |
| Weight | Glass | Keeps vegetables submerged | Masontops: glass weights |
| Tamper | Wood, optional | Packs vegetables into the jar | Masontops: wooden tamper |
| Kitchen scale | Not a kit item | Weighs salt accurately | Not listed in the Masontops contents |
Kits differ in which parts they include. Check the contents list before buying, because a lid set alone does not supply weights or packing tools.
Non-metal weights and their role
The glass weights in a starter kit hold cabbage or other vegetables below the surface of the brine. University of Vermont Extension advises using a non-metal weight for this purpose. Vegetables that stay submerged are the aim of the weight.
Optional tampers and their role in packing
A wooden tamper presses shredded vegetables down so they pack tightly in the jar. Because some kits include one and others do not, it is treated as an optional item. The Masontops Complete kit includes one, while the BestReviews source notes that tampers appear in only some kits.
Measuring tools the kit leaves out
Kits rarely include the measuring tools that control the recipe. Weigh salt on a kitchen scale, because different salts vary in volume.
| Tool | Used for | Figure from the sources |
|---|---|---|
| pH test strips | Checking the finished product | Finished pH of 4.6 or lower (USDA guideline, cited by University of Vermont Extension) |
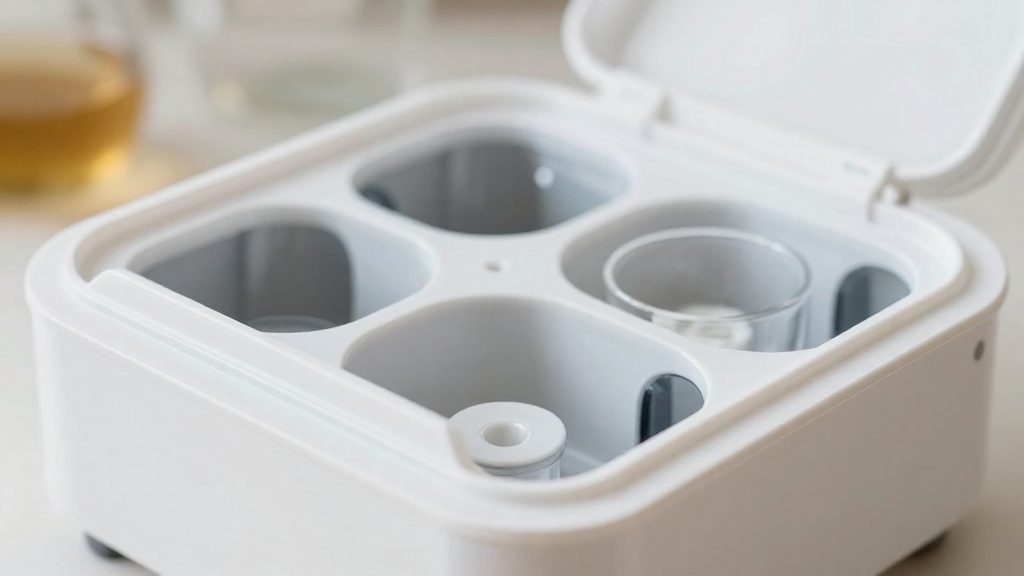
Mason jar kit or crock: which is better?
For a first batch, a mason-jar kit is the more practical starting point, but the right vessel depends on batch size. A typical beginner mason-jar kit includes waterless airlock lids and glass weights, and sometimes a wooden tamper.
Batch size is set by weight, not by vessel
Salt is calculated from cabbage weight, so the batch size is set by how much produce you weigh out. Weigh the produce first, then choose a vessel that holds that amount.
Small batches: wide-mouth jars
A wide-mouth jar suits small batches. It is easy to fill, the glass weight sits directly on the cabbage, and the contents are simple to inspect.
Larger batches: crocks
Crocks suit larger quantities of cabbage. Before buying one, compare its dimensions with your counter or shelf space and the weight of produce you plan to ferment.
Cleaning access and headspace
Wide openings allow a hand or brush to reach the inner walls, while narrow openings limit cleaning. For headspace, check your kit or recipe for guidance.
Do you need an airlock?
Kits typically include waterless airlock lids, which let gas out while limiting air entry. Lacto-fermentation releases carbon dioxide as the bacteria work, so the jar needs a way for that gas to leave. A waterless airlock lid lets this gas leave while limiting the air that enters.
Carbon dioxide release
Carbon dioxide builds up inside the jar during the first days of fermentation. If the lid is sealed tight with no way for gas to escape, pressure can push brine out of the jar or stress the glass. A vented lid solves this. A loose lid, or a lid that is only partly tightened, lets gas escape but leaves the jar more open to air. An airlock is designed to do both jobs at once: it releases gas outward while blocking air from coming in.
Waterless airlock lids versus water-filled airlocks
A beginner mason-jar kit typically includes waterless airlock lids. Because these lids need no liquid, there is nothing to refill or top up during fermentation.
Oxygen exposure at the jar surface
The main risk of too much air is at the surface of the jar, where vegetables not under brine can meet oxygen. Mold can grow in this zone. Keep the vegetables under the brine, and check the surface during the ferment. If you see mold, discard the whole batch without tasting it.
What brine ratio should beginners use?
For sauerkraut, the University of Vermont Extension sets the salt amount by weight of the cabbage, not by the volume of water or brine. The recommended range is 1.5 to 2.5 percent salt by weight of the cabbage. A 2 percent figure sits in the middle of that range, and the Extension uses it in its worked example, so it is a practical starting point for a first batch. The percentage applies to the cabbage you are fermenting, so the calculation begins with a weighed quantity of cabbage.
The arithmetic is cabbage weight in grams × salt percentage ÷ 100 = grams of salt. Applied to an 800 g batch:
| Target salt | Calculation | Salt to weigh |
|---|---|---|
| 1.5% | 800 × 0.015 | 12 g |
| 2% | 800 × 0.02 | 16 g |
| 2.5% | 800 × 0.025 | 20 g |
The 2 percent row matches the Extension’s example of 16 g of salt for 800 g of cabbage. Scaling works the same way. A 1,200 g batch at 2 percent needs 24 g of salt.
Why salt must be weighed
Volume is an unreliable measure of salt. The Extension notes that different salts vary in volume, so the same spoon or cup can hold different masses depending on the product. A measure that looks identical can deliver a different percentage of salt to the cabbage. A kitchen scale removes that variable and keeps the ratio consistent from one batch to the next.
Applying the ratio
- Weigh the cabbage first and record the figure in grams.
- Multiply that figure by the chosen percentage, divided by 100, to get the salt mass.
- Weigh the salt separately on the same scale.
- Stay within the 1.5 to 2.5 percent range. The sources give no guidance outside this range, so stay within it.
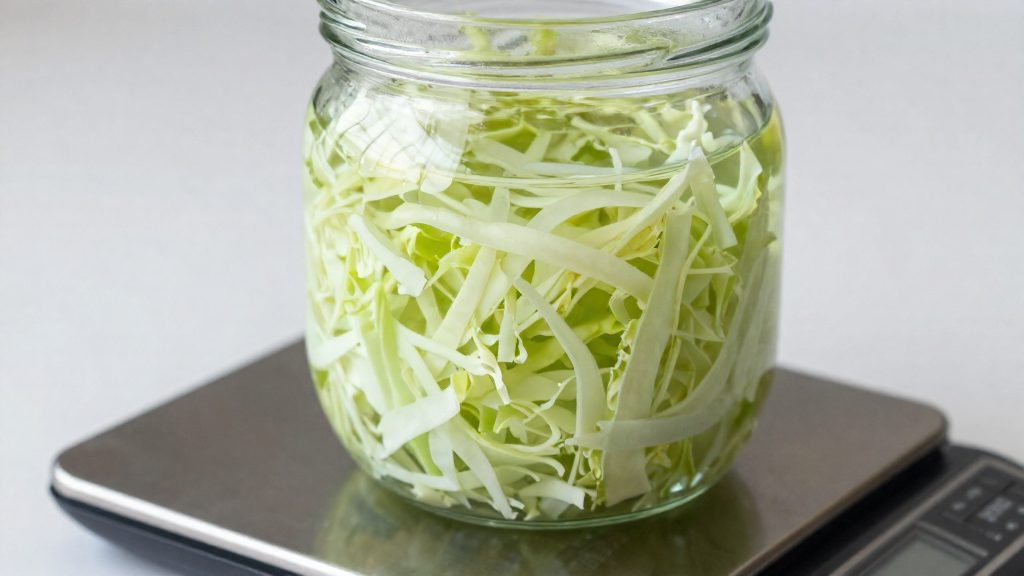
How do you keep fermenting safe?
Two checks on the finished batch separate a sound sauerkraut from one to discard: the finished pH and the presence of mold. The salt level you set at the start matters too, because too little salt can allow pathogen growth before acidity develops. According to the University of Vermont Extension, USDA guidelines recommend a finished pH of 4.6 or lower, and pH test strips can confirm it. Good sauerkraut is free of mold, slightly tart and crunchy. A batch with mold or a pH above 4.6 should not be kept.
Testing the finished pH
Test the ferment once fermentation is complete, not during the early days. Dip a pH test strip into the liquid, wait the time printed on the package, and compare the color to the included scale. A reading of 4.6 or lower meets the target. A batch above 4.6 does not meet the USDA guideline and should be discarded, not served.
Mold means discarding the batch untasted
Mold on sauerkraut is a reason to throw the batch out, and you should not taste it first. The batch should be discarded as a whole.
Low salt and pathogen risk
Too little salt can allow pathogens to develop. The risk depends on timing: the salt and the acid-producing bacteria need to lower the pH before harmful organisms gain ground. A batch that is under-salted may not reach a pH of 4.6 or lower in time, which is why the end-of-process pH test is the check that confirms the result. The two checks work together, since a passing pH reading does not identify mold, and a clean surface does not confirm acidity.
| Check | Sound batch | Discard |
|---|---|---|
| Finished pH | 4.6 or lower | Above 4.6 |
| Surface | Free of mold | Any mold present |
Which starter ferment should you try first?
Sauerkraut is the most practical first project for a home fermenter. It needs only cabbage and a container, and its progress is easy to judge by taste and texture. According to University of Vermont Extension, the ideal room temperature for sauerkraut is 65–72°F for the whole process, which can last up to about four weeks. That range gives a beginner a fixed fermentation window and a rough schedule for when to start checking the batch. Keeping the container in that temperature band for the full period makes the timeline predictable, so you are not guessing when the ferment is ready.
Timeline at a glance
| Stage | Condition | Duration |
|---|---|---|
| Fermentation | Room temperature, 65–72°F | Up to about four weeks |
| Finished storage | Refrigerated | Up to one year |
Judging success
The success markers for sauerkraut are sensory, so you check them by tasting and feeling the batch rather than by reading a gauge:
- Flavour: the finished sauerkraut should be slightly tart.
- Texture: it should be crunchy, not soft or limp.
If the batch reaches both markers within the four-week window, the ferment has met the standard that University of Vermont Extension describes for good sauerkraut. If it does not, check the temperature record first, because the room temperature range is the variable you can control most directly.
Storing the finished batch
Once the batch tastes right, move it to the refrigerator. According to University of Vermont Extension, finished sauerkraut keeps refrigerated for up to a year, so you do not need to eat a large batch at once. Portion it into smaller containers if you plan to open it often.
The Masontops Complete kit: what it includes and what it costs
A beginner fermentation kit is a set of accessories sold alongside a vessel, not a complete fermenting system. According to BestReviews (2025), most fermentation kits cost under $50. The Masontops Complete kit includes four pickle pipe lids, glass weights and a wooden tamper. It does not include jars, so buyers need their own wide-mouth jars before they can start a batch.
| Item | Masontops Complete kit |
|---|---|
| Pickle pipe lids | 4 |
| Weights | Glass |
| Tamper | Wooden |
| Jars | Not included |
The kit suits a beginner who already owns suitable jars and wants the matching lids, weights and tamper in one purchase. A buyer who needs a vessel too will have to add that cost separately, so the under-$50 benchmark applies to the accessories only if jars are already on hand.
Pickl-it is excluded from this comparison.
When comparing kits, check these points against the product listing:
- Whether jars are included, and how many.
- The number of lids relative to the number of jars you plan to use.
- Whether a tamper is included, since some beginner kits omit it.
- The total price compared with the under-$50 range BestReviews reports for most kits.
Frequently asked questions
Can I use measuring spoons instead of a kitchen scale for salt?
Measuring spoons are unreliable for brine because salts differ in density, so the same spoonful can hold different amounts of salt. Weigh the salt instead. For sauerkraut, the University of Vermont Extension recommends salt by weight at 1.5 to 2.5% of the cabbage weight, so 800 g of cabbage needs 16 g of salt at 2%.
Can I use a metal weight to keep vegetables under the brine?
Use a non-metal weight, such as glass, to hold shredded cabbage below the liquid. The University of Vermont Extension specifies a non-metal weight for this purpose. Keeping the cabbage fully submerged is what limits exposure to air at the surface.
What should I do if mold appears on my batch?
Discard the batch without tasting it. Good sauerkraut is free of mold, so surface growth signals a batch that should not be eaten, according to the University of Vermont Extension. Check your salt weight and keep the cabbage submerged on the next batch, since both affect how well the ferment protects itself.