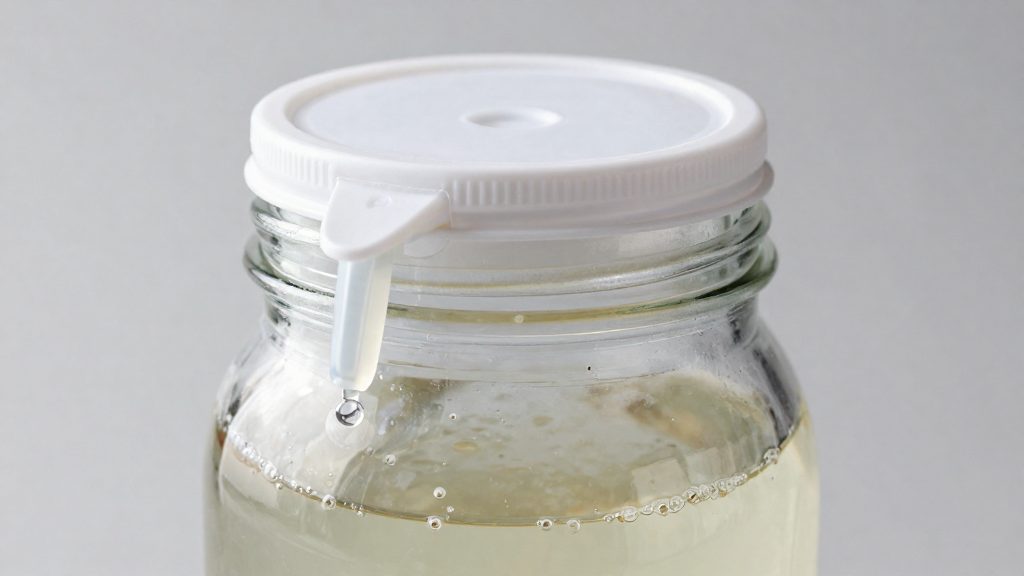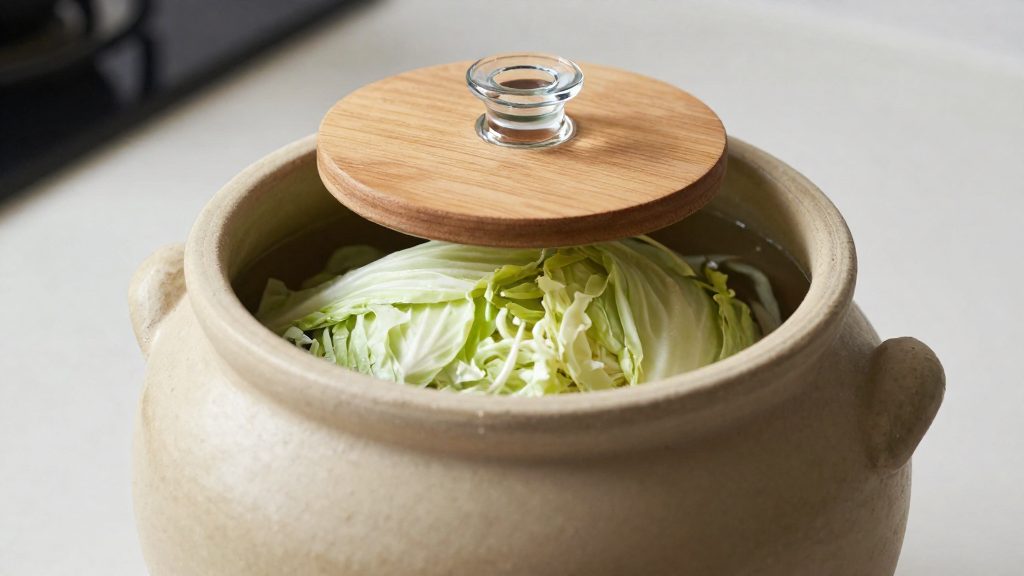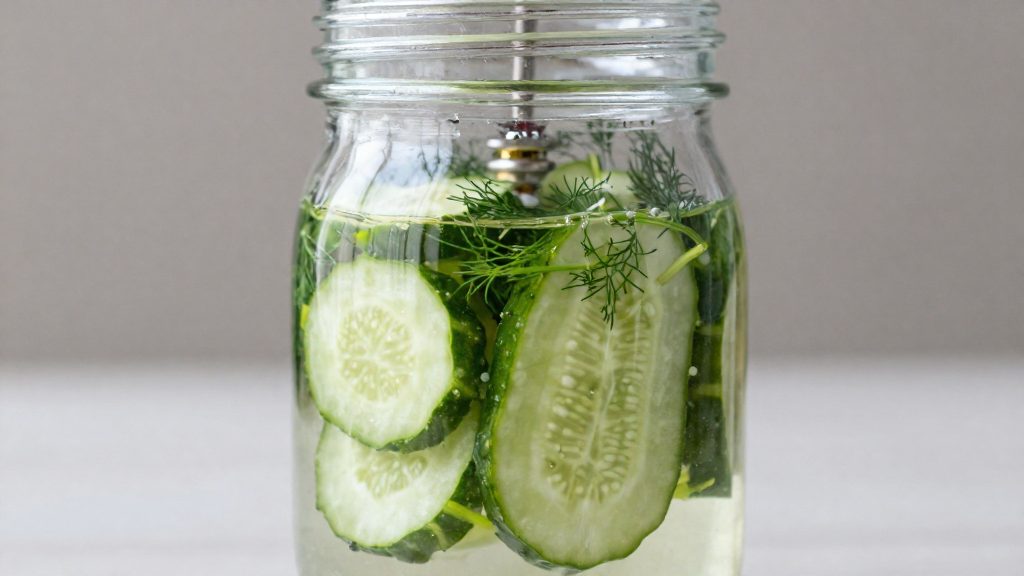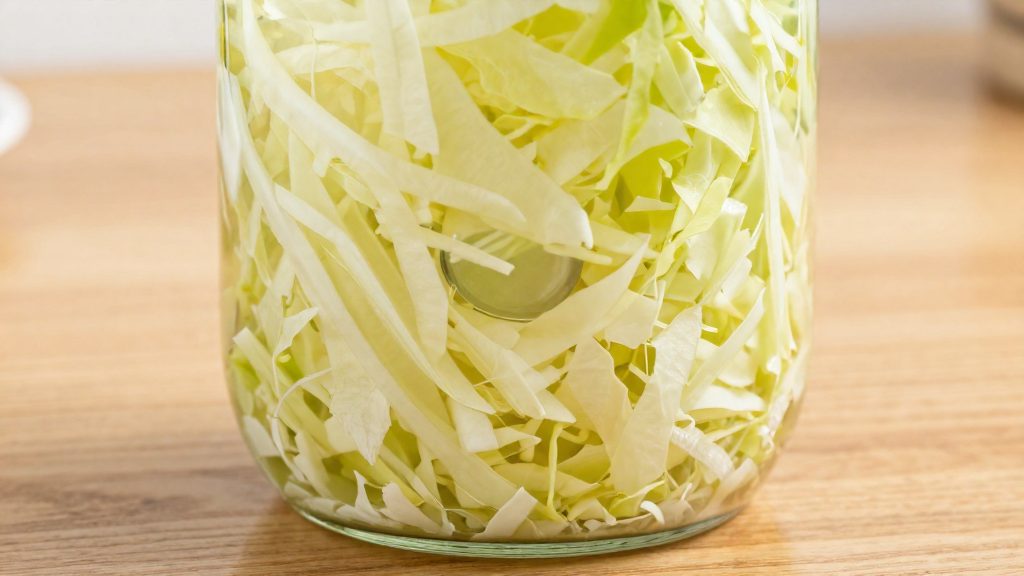
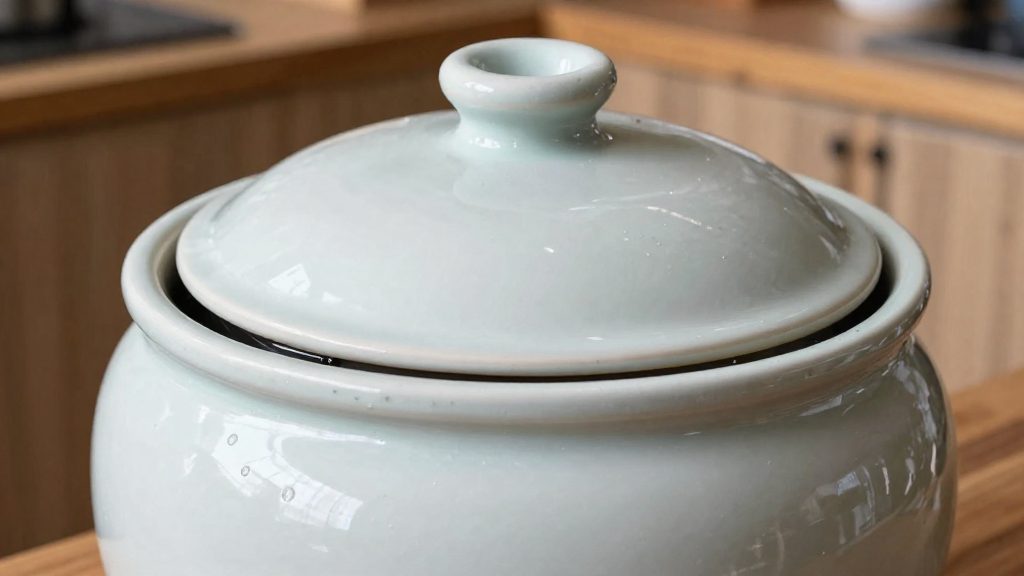
A water seal crock is a fermentation vessel with a moat or channel around its top that is filled with water. This is the main difference from an open crock, which has no water barrier. According to Oregon State University Extension Service (2026), fermentation crocks come in two types, open and water-sealed.
What is a water seal crock?
Open versus water seal crock
The two types differ in how the top of the vessel is closed off. The table below summarises the distinction.
| Feature | Open crock | Water seal crock |
|---|---|---|
| Defining element | No water channel | Moat or channel filled with water |
| Barrier to outside air | None from water | The water in the moat |
| Lid position | Sits on the vessel without a moat | Sits within the water-filled moat |
The three parts of a water seal crock
A water seal crock is built from three components. Each one is referenced in the rest of this guide.
- Moat: the channel that runs around the top of the body. Filling it with water creates the seal that separates the contents from the room air.
- Lid: the cover that fits over the body inside the moat. The water seal depends on the lid staying in place.
- Body: the vessel that holds the food and its brine. The contents sit inside the body, below the level of the moat.
Typical foods made in a water seal crock
Sauerkraut is a typical example, and other lacto-fermented vegetables are also commonly prepared in this type of vessel.
How does the water seal work?
A water-sealed crock has a moat or channel filled with water. According to Oregon State University Extension Service (2026), the water blocks outside air while letting the carbon dioxide from fermentation escape. The lid is therefore closed to air without being airtight, and the seal depends on two conditions at once: gas has a way out, and the only route in is blocked by water.
Carbon dioxide pressure forces gas out through the water
Fermentation releases carbon dioxide inside the crock. As the gas builds up under the lid, it presses down on the water in the moat. When the pressure is high enough, the gas pushes through the water and escapes into the room. The carbon dioxide pressure keeps moving outward, so the seal works through a steady outflow rather than a closed chamber.
Why a filled moat stops outside air
According to Mother Earth News Fermentation (myfermentation.com) (2019), once the water seal is poured, no air enters the crock. The water barrier sits in the channel between the lid and the crock body. Because gas is always flowing outward, there is no inward pull that could draw room air past the water. Outside air cannot reach the contents while the moat holds water.
How a dry moat breaks the seal
The same source notes that if the moat dries out completely, the seal breaks and air can get in. Once the water is gone, nothing separates the interior from the room, and gas can leave without passing through any liquid. The water layer is the only part of this design that blocks air, so its presence in the moat is what determines whether the crock stays sealed.
| Moat state | Gas path | Outside air |
|---|---|---|
| Filled with water | Carbon dioxide bubbles out through the water | Blocked by the water barrier |
| Completely dry | Gas leaves without passing through water | Can enter the crock |
How to set up and fill your crock
A water-sealed crock has two parts that matter during setup: the vessel that holds the food, and a moat (a channel around the rim) that holds water. Oregon State University Extension Service (2026) notes that crocks come in open and water-sealed types and that users should follow the manufacturer’s instructions for safe use, so the sequence below describes the general method, not one model’s design.
| Order | Action | Detail from the sources |
|---|---|---|
| 1 | Load the vegetables | Cabbage must be fully covered by its own juice |
| 2 | Add brine if juice is short | — |
| 3 | Fill the moat with water | — |
| 4 | Seat the lid and keep it on | — |
Loading the vegetables and brine
Weigh the shredded cabbage and mix in the salt as described in the salt section below, then pack it into the crock. The juice released by the cabbage has to cover it. Leave headspace of 3–4 inches between the contents and the rim, then press the cabbage down under a weight so it stays submerged. If the cabbage releases too little juice to cover itself, add the brine described in the salt section below. Adding brine only after the vegetables are loaded lets you judge how much liquid is still missing.
Filling the moat
Once the vegetables are in place, pour fresh water into the moat channel. Check the moat at least once a week and top it up with fresh water, because if it dries out completely the seal breaks and air can get in. In a warm room, check more often. Water-sealed setups depend on this step, so treat the moat as part of the fermentation process rather than a one-time fill.
Seating the lid
Place the lid according to the manufacturer’s instructions, so it sits correctly on the crock and the moat stays closed off from outside air. Then leave it alone. Keep the lid on until fermentation is finished, since every opening lets air in and interrupts the anaerobic conditions the seal is meant to maintain. Topping up the moat does not require lifting the lid.
How much salt do you need?
For sauerkraut, the Oregon State University Extension Service recommends about 1.8 teaspoons of pickling salt per pound of cabbage. Weigh the cabbage first, then multiply the pounds by 1.8 to get the teaspoon count. Salt density varies between products. The 1.8 teaspoon figure applies to pickling salt, so weigh your own pickling salt to turn the teaspoons into grams.
Salt needs to be measured accurately in crocks, and the Mother Earth News Fermentation guide (2019) recommends a digital gram scale for this. Volume measures such as teaspoons depend on how finely the salt is ground and how tightly it is packed, so the same spoon can hold noticeably different amounts. To calibrate, tare the scale with an empty bowl, weigh one level teaspoon of your pickling salt, and note the result. Multiply that weight by 1.8, then by the pounds of cabbage, to get the salt weight for each batch. Recalculate if you switch to a different salt, because a flake or coarse salt will not match a fine pickling salt.
Weighing also makes batches repeatable. Record the cabbage weight, the salt weight, and the date, so that a later batch can be compared with an earlier one. This matters most in a water-sealed crock, where you cannot check the contents without breaking the seal.
Salt quantities differ by use. The table below lists the two doses given in the Oregon State University Extension Service guidance.
| Use | Salt quantity | Source |
|---|---|---|
| Shredded cabbage (sauerkraut) | About 1.8 teaspoons pickling salt per pound | Oregon State University Extension Service |
| Brine, only if cabbage releases too little juice | 1⅛ teaspoons salt per cup of hot water, cooled before use | Oregon State University Extension Service |
How do you keep vegetables under the brine?
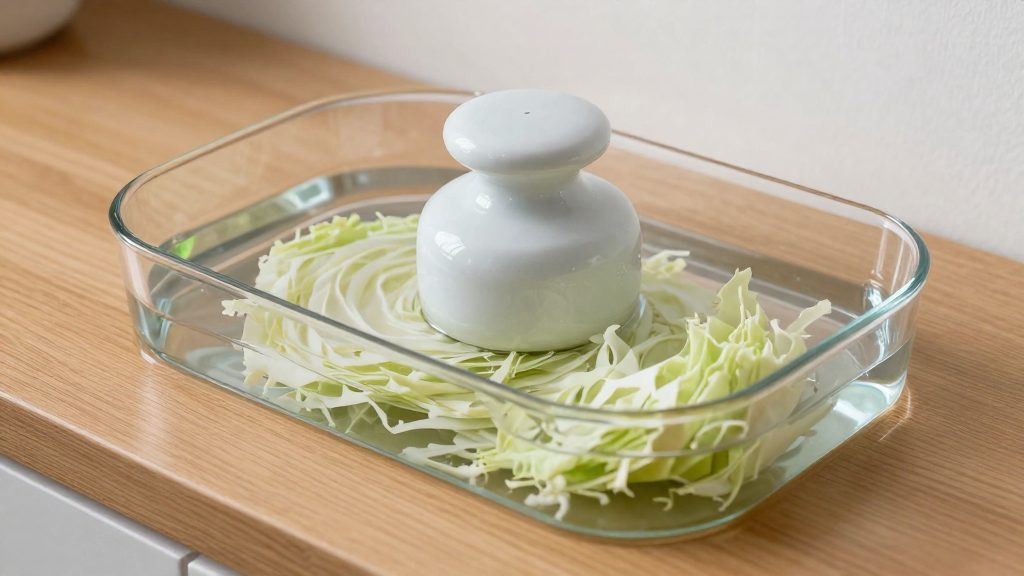
Keeping vegetables submerged depends on a weight placed on top of them, so that every piece stays below the liquid. According to Mother Earth News Fermentation (myfermentation.com) (2019), a heavy weight is the method for keeping contents under the brine in a crock. Pieces that float above the liquid are exposed to air, so the weight should cover the whole surface of the vegetables, not only the center.
Choosing the weight material
Avoid wood and metal for the weight. The same source advises choosing a material that does not corrode, grow mold, or swell when wet. A non-swelling material keeps its size in brine, so it will not jam in the crock or stop fitting after soaking. Glass and food-grade ceramic weights are common in home fermentation. Before use, check that the weight is clean and free of cracks or chips.
Making sure the weight fits
The weight must pass through the narrowest part of the crock, usually the neck or the shoulder below the rim. Measure that opening before buying or choosing a weight, and confirm the weight’s diameter is smaller than it. Lowering the empty weight into the crock before packing the vegetables shows whether it fits and sits flat.
Pressing the vegetables under the brine
- Pack the vegetables in layers and press each layer firmly.
- Place the weight on the surface and press it down until the liquid rises above the top of the vegetables.
- Check that the weight rests evenly, with no gaps for pieces to float up.
If liquid does not rise over the vegetables after weighting, add the cooled brine from the salt section until everything is covered, then check again before the crock is sealed.
How long should you ferment?
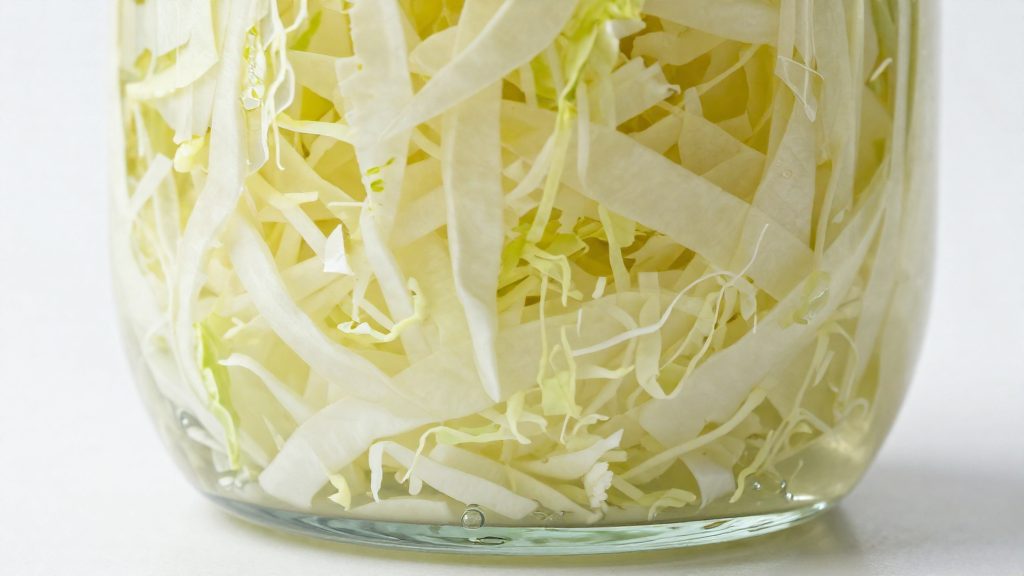
Fermentation time in a water-sealed crock depends mainly on the temperature of the room where it sits. For sauerkraut, the Oregon State University Extension Service (2026) gives a working range: at 70–75°F, kraut ferments in about 1–2 weeks, and at 60–65°F it takes about 2–3 weeks. Plan the schedule around the room temperature rather than a fixed calendar date.
Temperature bands and expected timing
| Room temperature | Documented outcome |
|---|---|
| 70–75°F | Kraut ferments in about 1–2 weeks |
| 60–65°F | Kraut takes about 2–3 weeks |
| Below 60°F | Kraut may not ferment at all |
| Above 75°F | Kraut may turn soft |
The 70–75°F band gives the most predictable timing. Moving down to 60–65°F roughly adds a week, so a crock started in a cooler kitchen needs a longer window before it is ready.
Cold rooms and stalled batches
Below 60°F is the lower limit of the range. The Oregon State University Extension Service (2026) states that kraut may not ferment at all in these conditions, so a batch that shows no progress in a cold room is not necessarily running late. Check the room temperature first. If the room is consistently under 60°F, move the crock to a warmer spot instead of waiting longer.
Heat and texture
Heat affects the result as well as the timing. Above 75°F, the risk shifts from speed to texture: the kraut may turn soft. A warm kitchen or a spot near an appliance can push a batch past the top of the range, so choose a location with a stable temperature when possible.
Maintaining the moat and cleaning
Routine upkeep of a water-sealed crock comes down to one habit: checking the moat about once a week and topping it up with fresh water. According to Mother Earth News Fermentation (myfermentation.com) (2019), this weekly check is the standard interval. Because water evaporates over time, the level has to be checked on a schedule rather than assumed to be full.
Weekly moat check and top-up
Set a fixed day for the check so it becomes routine. At each check:
- Look at the water level in the moat.
- Add fresh water until the moat is full again, rather than waiting for it to empty.
- Pour slowly and keep the water in the channel, away from the contents of the crock.
Topping up before the moat runs low is the purpose of the check. Waiting until the channel is nearly empty leaves no margin.
Cleaning and drying after a batch
Once fermentation is finished and the crock has been emptied, clean each part separately. The method below is general practice.
| Part | Post-batch step |
|---|---|
| Crock body and moat | Wash with warm water, rinse, and empty the old water from the moat |
| Lid | Wash and dry fully before it is placed back on the crock |
| Weight | Wash and dry fully before storage |
Drying matters as much as washing. Dry completely each part before storing it, so no moisture is trapped between uses. Store the lid and weight separately from the crock body, so the parts can air out.
When is it safe to eat or discard?
Judge a batch by smell, taste, and texture rather than appearance alone. According to Oregon State University Extension Service (2026), readiness is judged by smell and taste. Good kraut tastes like kraut, not like sour or salted cabbage, and stays firm. It should not be soft or slimy. These same senses separate normal fermentation activity from spoilage.
Harmless signs
Several visible changes are part of normal fermentation and do not, on their own, mean a batch has gone bad:
- Bubbling shows gas escaping as microbes work on the sugars in the vegetables.
- Cloudiness in the brine is common as bacteria multiply.
- Sour aroma is expected in lacto-fermented vegetables. It is acceptable as long as it smells like fermented vegetable rather than rot.
Surface mold versus spoilage
At home, judge the batch by appearance and smell. A thin white film can be surface yeast, but it cannot be reliably told apart from early mold by appearance alone. If you are in any doubt, discard the batch. Skim a film only if you are certain it is flat and smooth, with no fuzzy or raised growth, and the batch still smells normal. Otherwise, discard the batch. Fuzzy growth in any color, or a film that comes with a bad smell, indicates spoilage.
| Observation | Usually indicates | Action |
|---|---|---|
| Bubbling | Active fermentation | Keep |
| Cloudy brine | Normal microbial activity | Keep |
| Sour aroma that smells like fermented vegetable | Expected acidity | Keep |
| Thin white film | Surface yeast | Skim, then re-check smell and texture |
| Fuzzy mold, any color | Spoilage | Discard |
| Foul or rotten smell | Spoilage | Discard |
| Slimy texture | Spoilage | Discard |
| Pink or unusual color | Possible contamination | Discard |
Batches to discard
Discard the batch if you see fuzzy mold of any color, or if it smells foul or rotten. Also discard it if it is slimy, soft, or has a pink or unusual color.
Frequently asked questions
How often should I top up the moat?
Check the moat at least once a week and refill it with fresh water whenever the level drops. If it dries out completely, the water seal breaks and air can enter the crock. According to Mother Earth News Fermentation (2019), the weekly check is the baseline, and a warm room calls for more frequent checks.
What if a white film forms on the surface?
A thin white film cannot be reliably told apart from early mold by sight, so do not assume it is harmless. Skim it off only if you are certain it is flat and smooth, with no fuzzy or raised growth, and the batch still smells normal. Otherwise, discard the batch.
How long does sauerkraut take to ferment?
Warmer kitchens shorten the wait. In the 70–75°F range, a batch is typically ready within one to two weeks, while rooms between 60–65°F can need two to three weeks. Below 60°F, fermentation may not start, so judge the readiness of the batch by smell, taste and firmness rather than by the calendar alone, according to Oregon State University Extension Service.