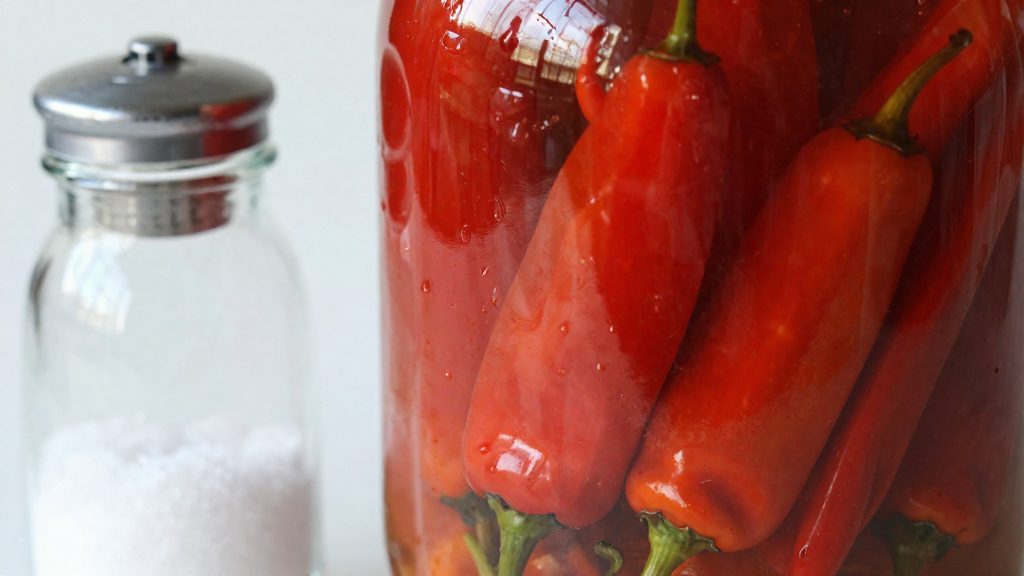
What peppers work best for fermented hot sauce?
No single pepper is required for a fermented hot sauce. One recipe from Preserved Goods (2026) ferments fresh hot peppers of any variety, so your choice depends on the heat, sweetness and flesh you want in the finished sauce. Judge each pepper by three traits you can check before fermenting: how hot it tastes, how sweet it is at the stage you pick it, and how thick its flesh is. The safety requirement for the finished sauce, a pH below 4.6, is the same whichever pepper you choose.
Matching heat tasting to the sauce
Fresh chilies vary widely in heat, and the variety name alone is a weak guide because heat differs between individual peppers of the same type. Jalapeño, serrano, Fresno and habanero are common choices in home fermentation, and their heat differs. Rely on tasting instead. Bite a small piece of a raw pepper from your batch. That test shows the heat you will carry into the ferment more reliably than a label does.
Ripeness and the ripeness stage
Peppers are picked at different stages, and colour and firmness signal how far a pepper has ripened. Taste a sample at the stage you plan to use, and keep one ripeness stage per batch so the ferment is consistent from jar to jar.
Building a pepper pairing
Blending two peppers lets you separate heat from flavour. Use the table below to choose a pairing approach.
| Pairing approach | What to check | Effect on the sauce |
|---|---|---|
| Hot pepper with a milder pepper | Heat of each pepper, tasted raw | Lowers overall heat while keeping pepper flavour |
| Hot pepper with a sweeter pepper | Sweetness at the same ripeness stage | Adds a rounder, fruitier note beside the heat |
| Single variety | Consistent heat across the batch | Predictable heat level from start to finish |
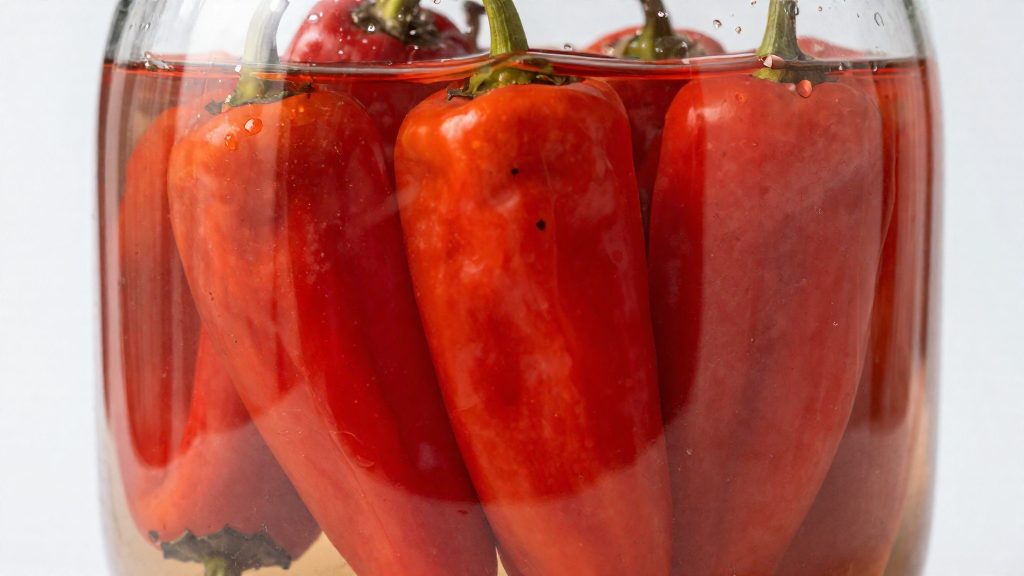
Fermented hot sauce ingredients and equipment (illustrative, not a tested recipe)
A fermented hot sauce made from fresh peppers needs only a few non-pepper ingredients and a small set of vessels. The illustrative recipe from Preserved Goods (2026) uses sea salt dissolved in filtered water as the brine, plus a weight to hold the peppers under the liquid and an airlock or loose lid to cover the jar.
Vessels and holding equipment
| Item | Role in the ferment |
|---|---|
| Jar | Holds the peppers and brine for the full fermentation period |
| Weight | Keeps the peppers submerged under the brine |
| Airlock | Lets gas escape from the jar while limiting air entry |
| Loose lid | Covers the jar without sealing it, as an alternative to an airlock |
Water and salt
The recipe specifies sea salt and filtered water. Check the label for anti-caking agents and choose a salt without added ingredients. Filtered water is the water named in the recipe.
Acid as an ingredient
Vinegar is a functional ingredient, not only a flavouring: according to SDSU Extension (2023), adding an acid such as vinegar helps bring a hot sauce below the pH 4.6 threshold. Adding vinegar does not replace measuring the pH of the finished sauce.
Optional aromatics
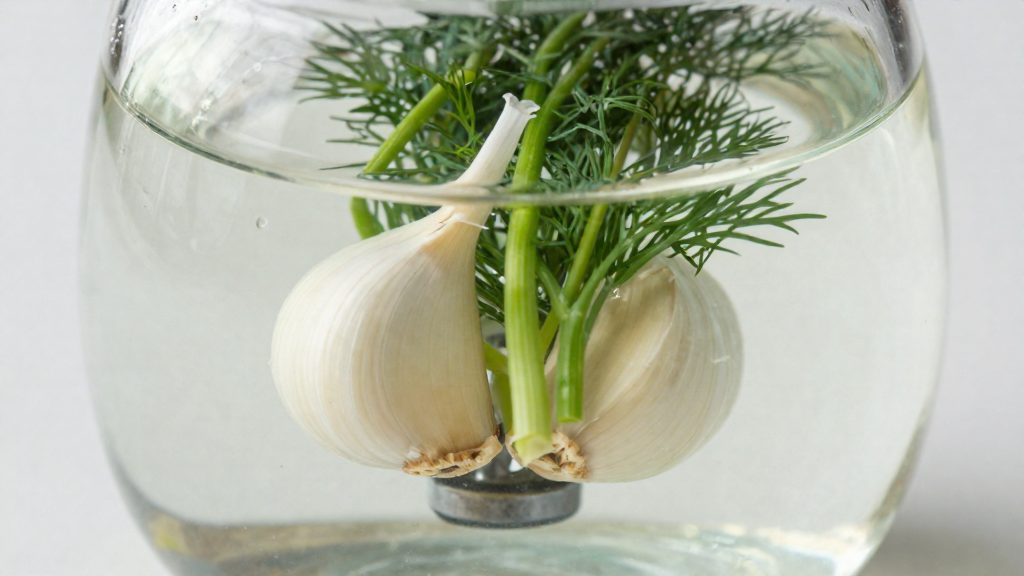
Garlic, onion and carrot are common additions to a fermented pepper mash. They add flavour and body to the finished sauce. Add them to the jar with the peppers so they sit under the same weight.
How much salt should the brine have?
The reference brine for this recipe is 1.5 tbsp sea salt to 2 cups filtered water, according to Preserved Goods (2026). That ratio is set by volume, and volume is an imprecise way to dose salt. A tablespoon of sea salt can weigh more or less depending on crystal size and how tightly it is packed. Weighing the salt and water gives a brine you can repeat from batch to batch. To find the weight for your own salt, measure it yourself: place a bowl on a kitchen scale, tare it, and add salt until the display shows the weight you want. Record that number for future batches.
Calculating salt percentage by weight
Brine strength is expressed as a salt percentage, calculated from weights rather than cups:
Salt percentage = salt grams ÷ water grams × 100
| Step | Action | Result |
|---|---|---|
| 1 | Weigh the sea salt in grams | Salt grams |
| 2 | Weigh the filtered water in grams | Water grams |
| 3 | Divide salt grams by water grams, then multiply by 100 | Salt percentage |
Use the water weight, not the volume, in the denominator. Some producers divide by total brine weight (salt plus water) instead, which gives a lower figure for the same mix. This article uses water weight, so check which definition a recipe uses before comparing numbers.
Salt and vegetable texture
Salt concentration affects how much water the peppers release and how firm they stay during fermentation, so it is linked to crispness and flesh firmness. A practical approach is to keep the same brine strength across batches, so any difference in texture comes from the peppers rather than the brine. If a batch turns out softer than you want, adjust the salt weight in small steps and log the change, instead of changing several variables at once.
Step-by-step fermented hot sauce recipe
The fermentation stage happens in the jar, before any blending. The steps below cover preparing the peppers, packing them, holding them under the brine, and the daily checks that follow. One illustrative recipe, from the shop-affiliated blog Preserved Goods (2026), ferments fresh hot peppers of any variety.
1. Stem and halve the peppers
Rinse the peppers and cut off the stems with a paring knife. Cut each pepper lengthwise into halves. Halved pieces pack more evenly than whole peppers and give the brine more surface to work on, which makes it easier to keep every piece under the liquid.
2. Pack the jar
Put the pepper halves into a clean jar in layers, pressing each layer down gently. Leave headroom at the top for the weight and the brine. Pour in enough brine to cover the peppers completely. Avoid packing so tightly that pieces wedge against the sides and float.
3. Keep the solids below the brine
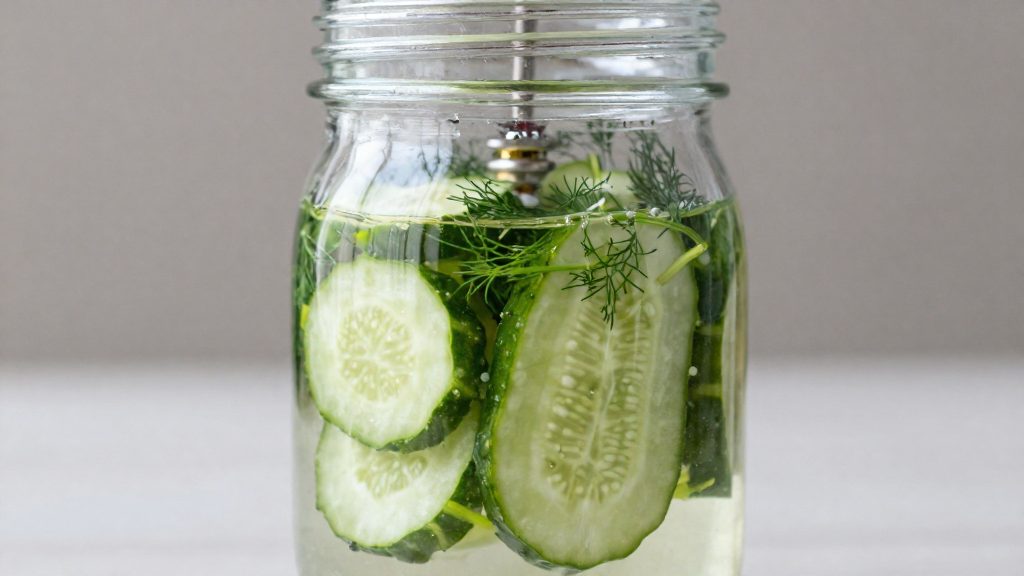
Use a fermentation weight, a small clean glass, or a sealed bag filled with brine to press the peppers under the surface. Any piece that rises above the brine line is exposed to air, so check the weight’s position after packing.
4. Fit the airlock or loose lid
Seal the jar with an airlock, or use a loose lid that lets gas escape. Do not tighten a solid lid onto the jar, because the gas produced during fermentation needs an exit.
5. Run the daily checks
Check the jar once a day for the whole fermentation and note any change.
| Check | What to look for | Action |
|---|---|---|
| Brine level | All peppers still fully covered | Press down the weight, or top up with brine made at the same ratio |
| Weight position | Weight still holding solids under the surface | Reposition the weight and make sure nothing floats |
| Airlock function | Liquid in the airlock moving, showing gas escaping | If the airlock is dry or blocked, clean it and refill it with water |
How long should hot sauce ferment?
A fermented hot sauce made from fresh peppers does not run on a fixed timer. According to Preserved Goods (2026), fermenting this kind of pepper brine takes 2 to 6 weeks or longer, so that range is a starting guide, not a finish line. The recipe behind that range is from a shop-affiliated blog, so confirm readiness with your own batch. The source applies its method to fresh hot peppers of any variety and does not give separate durations for different pepper types.
Room temperature changes the pace. A warmer kitchen generally speeds fermentation and a cooler one slows it. A batch kept cool should be judged by its taste rather than by the calendar.
Use these checks to decide when to stop:
| Check | What to look for | Decision |
|---|---|---|
| Elapsed time | Days since the brine was sealed, measured against the 2 to 6 week range | Before 2 weeks, keep fermenting. At 6 weeks or later, move to taste testing. |
| Taste | A small sample from the brine with a clean spoon, noting sourness and heat | Keep fermenting if the flavour is flat or harsh. Stop when the sourness suits your palate. |
| Sourness over days | Whether the sample tastes more sour than on the previous check | If sourness stops changing between two checks, the batch is close to ready. |
Record the date you start and the result of each taste check. Written notes make the comparison between checks reliable, especially in a cool room where changes are slow.
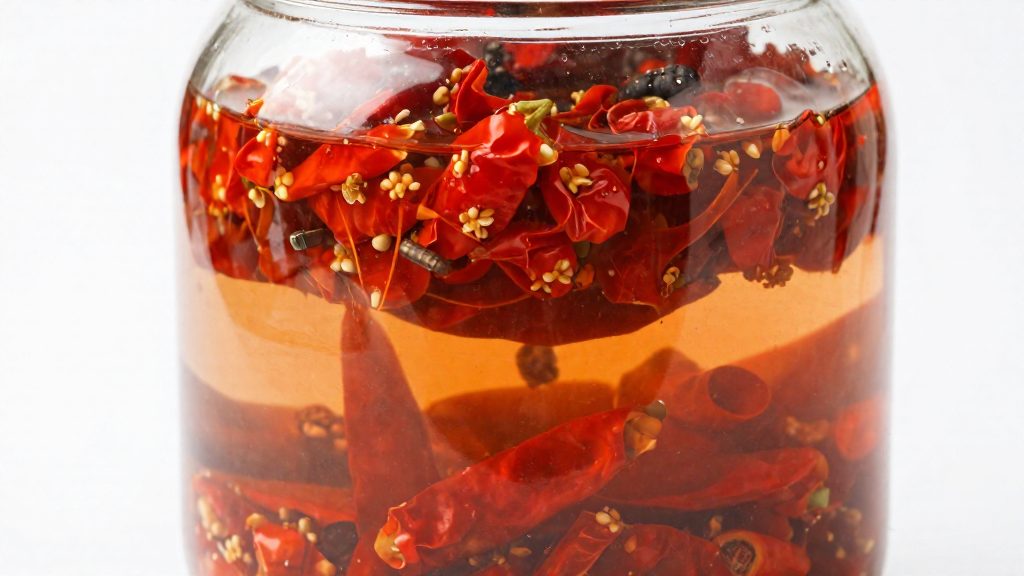
Is homemade fermented hot sauce safe?
Homemade hot sauce can be made safely, but safety depends on acidity, and a fermented sauce still has to be verified against the pH limit. The main risk is Clostridium botulinum, which cannot grow when a sauce’s pH is below 4.6. According to SDSU Extension (South Dakota State University, 2023), hot sauce must be below that threshold, and adding an acid such as vinegar helps it get there. Fermentation produces acid, but the sauce still needs to be checked against the 4.6 limit rather than assumed safe because it tastes sour.
Why boiling does not settle the question
Heating food particles to 212°F (100°C) destroys vegetative cells, but botulinum spores survive that temperature. SDSU Extension (2023) also notes that bottled sauces can create an anaerobic environment, so controlling pH alone is not enough. Boiling a sauce therefore does not make a low-acid, sealed mixture safe on its own.
Using tested recipes
SDSU Extension advises using only approved, tested recipes, such as those from the National Center for Home Food Preservation (NCHFP) or recent Ball Canning books. These sources are built around acidity and processing requirements. A blog recipe, including one from a shop-affiliated site, should be treated as an illustration of technique rather than a tested reference for acidity.
How to blend, adjust and store the sauce
After fermentation, the peppers are turned into sauce by blending, optionally straining, seasoning, and then refrigerating. Each step changes the product, so each one should be checked against the safety threshold. Any step that dilutes the sauce or adds non-acidic ingredients can move the pH, so the finished sauce should be tested after the final adjustments.
Blending for texture
Start with a small amount of the ferment brine, then add more only as needed. Adding all the liquid at once makes it harder to control the final consistency.
| Target texture | Liquid approach | Result |
|---|---|---|
| Thick, spoonable | Blend with minimal liquid, then stop | Chunky, holds shape on a spoon |
| Pourable | Add liquid in small steps while the blender runs | Smooth, flows from a bottle |
Blend longer for a smoother result. Stop and scrape the sides of the jar if solids collect on them.
Straining and consistency control
Straining removes seeds and fibrous pulp. Pour the blend through a fine mesh strainer and press the solids with a spatula to recover liquid. Keep the solids if you want a thicker sauce, and discard them if you want a clear, thin one. Return strained liquid to the blend in small amounts until the consistency is right.
Adjusting sweetness, salt and seasoning
Taste the sauce only after fermentation is finished. Add sugar or salt in small increments, blend, and taste again. Ingredients added at this stage do not replace fermentation, so do not treat seasoning as a way to make an under-acidified sauce safe.
The brine ratio applies to fermenting, not to seasoning the finished sauce, so it should not be used as a guide for adjusting flavour afterwards.
If you add water to reduce heat or thin the sauce, retest the pH. A diluted sauce may no longer meet the pH below 4.6 threshold, even if it did before.
Refrigerated storage and container choice
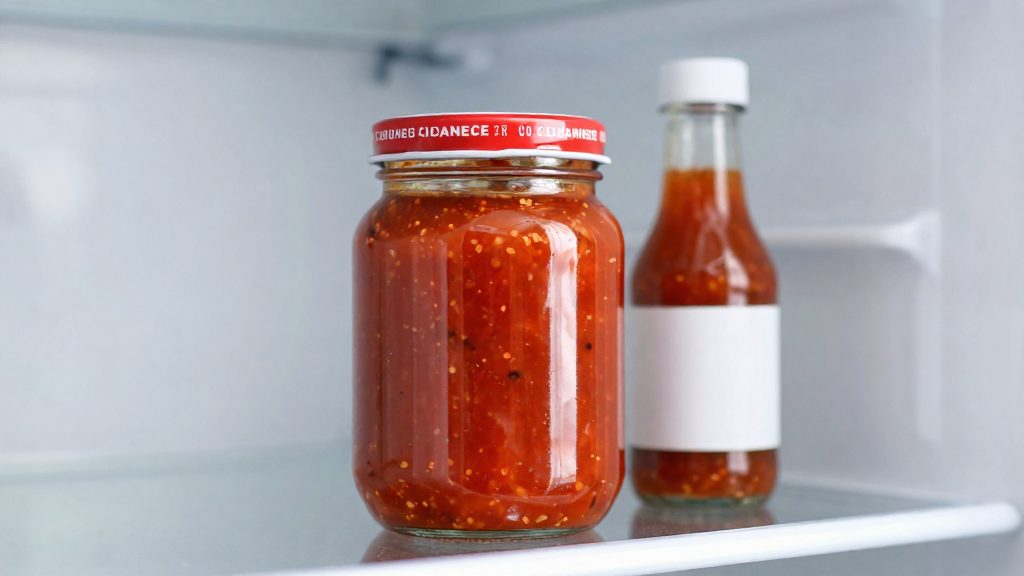
Per Preserved Goods (2026), the sauce is refrigerated after blending. Transfer it to clean, airtight bottles or jars with tight-fitting lids. Label each container with the date it was blended so you can track how long it has been stored. The consulted sources do not specify a container material or a maximum storage period, so check your own tested recipe for those details.
Troubleshooting mold, kahm yeast and bubbling
Surface growth is the most common reason a home ferment gets discarded, and the first step is identifying what is growing. In the Preserved Goods recipe (2026), fresh hot peppers ferment held under a weight with an airlock or loose lid. Under those conditions, two very different organisms can appear on the surface: kahm yeast and fuzzy mold.
Distinguishing fuzzy mold from kahm yeast
| Feature | Kahm yeast | Mold |
|---|---|---|
| Texture | Thin, flat, wrinkled or powdery film | Fuzzy, raised tufts or spots |
| Colour | White or cream | Green, blue, black, pink or grey |
| Location | Spreads across the brine surface | Can sit on peppers above the brine line |
| Smell | Yeasty or neutral | Musty or rotten |
Kahm yeast and mold can look alike. If you are not certain what the growth is, discard the batch. Mold is a different matter: if you see fuzzy growth of any colour, treat the batch as compromised.
Reading vigorous bubbling and airlock activity
Bubbling means gas from the ferment is escaping through the airlock or the loose lid. Bubbling is common during active fermentation, but it is not a safety indicator. A ferment can become quiet well before it is ready, so airlock activity alone does not confirm whether a batch is finished or healthy. Check colour, smell and surface condition as well.
When to discard a batch
Discard the batch if you observe any of the following:
- Fuzzy mold anywhere on the surface, or on peppers above the brine
- A rotten or putrid smell, rather than a sour, tangy one
- Slimy or mushy peppers that do not hold their shape
- Growth that returns after removal and spreads again
Frequently asked questions
What pH should a fermented hot sauce reach before it is safe to store?
The finished sauce needs a pH below 4.6, the level at which Clostridium botulinum cannot grow, according to SDSU Extension (2023). Adding an acid such as vinegar helps you reach that level when fermentation alone does not get there.
Can I boil a low-acid hot sauce to make it safe?
No. Boiling to 212°F destroys vegetative cells, but botulinum spores survive, and bottled sauces can create an oxygen-free environment, so pH control is still required, according to SDSU Extension (2023).
Can I copy the brine ratio from the Preserved Goods recipe exactly?
The Preserved Goods (2026) recipe uses 1.5 tbsp sea salt to 2 cups filtered water, but the publisher is a shop-affiliated blog, so treat it as an illustration. SDSU Extension (2023) advises using approved, tested recipes, such as those from the National Center for Home Food Preservation or recent Ball Canning books, before you rely on any brine ratio.