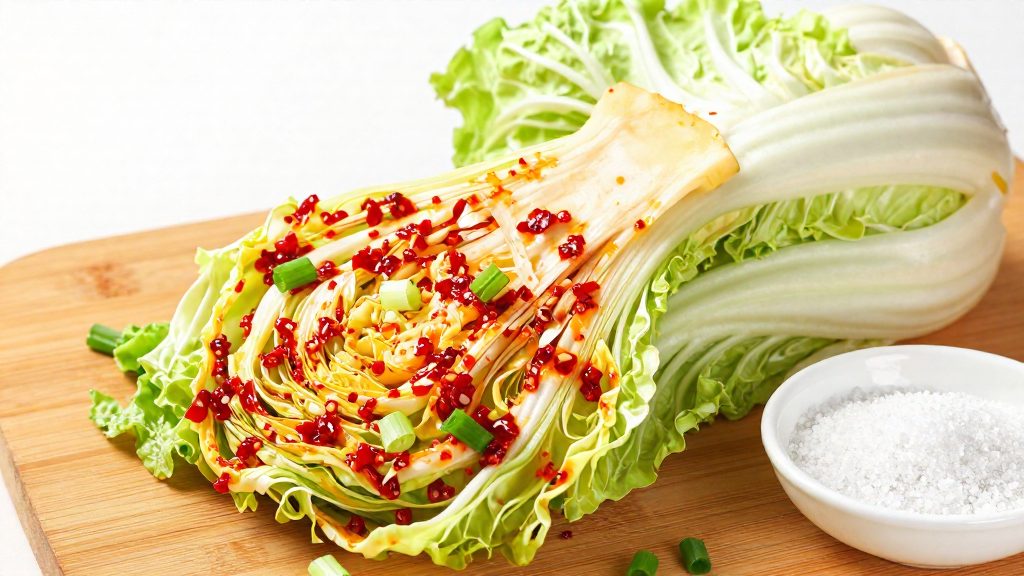
Napa cabbage kimchi is a Korean dish made by salting napa cabbage, seasoning it, and letting naturally occurring microbes ferment it. Lactic acid bacteria convert the vegetable’s sugars into lactic acid, which gives kimchi its sour flavor. The process is lacto-fermentation, not pickling with vinegar, so the acidity comes from microbial activity rather than added acid.
What is napa cabbage kimchi?
Lacto-fermentation by lactic acid bacteria
Lacto-fermentation depends on lactic acid bacteria already present on the cabbage, the seasonings and the kitchen environment. Basic napa kimchi recipes rely on this native population rather than an added starter culture. Salt suppresses many spoilage microorganisms, while lactic acid bacteria tolerate it and multiply. As they metabolize sugars from the vegetable, they produce lactic acid. That acid is what turns fresh cabbage into kimchi, and it is why the jar is left to develop over time instead of being eaten immediately.
Napa cabbage structure and water content
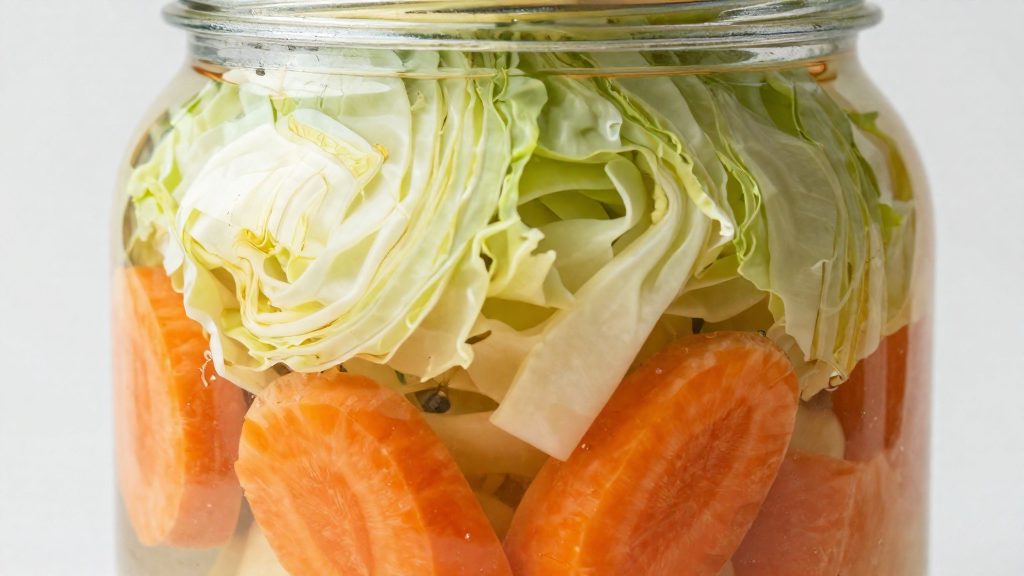
Napa cabbage has large, loosely packed leaves and thick, pale midribs. The midribs stay crunchy through fermentation, while the thinner leaf blades soften, so the finished dish has both crisp and tender pieces. The vegetable has a high water content. When salt is applied, that water is drawn out of the cells and forms the liquid that surrounds the cabbage. Keeping the pieces submerged in this brine limits contact with air, which supports the anaerobic conditions lactic acid bacteria need. Because the cabbage’s own moisture creates the brine, the leaves’ structure and water content directly shape both the texture and the fermentation environment.
Historical origins of Korean kimchi
Kimchi is a traditional Korean side dish made from many vegetables, and napa cabbage is one of the most common bases used for it.
What ingredients and tools do beginners need?
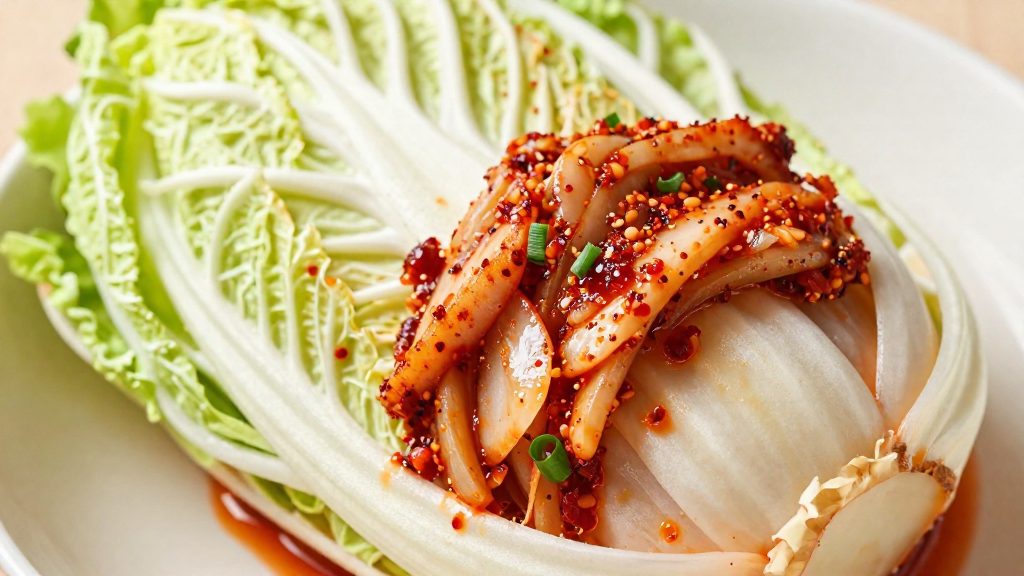
A first batch of napa cabbage kimchi needs a short list of items. Before salting, quarter the cabbage and chop it into 1-inch pieces. The core pantry is gochugaru (Korean chili flakes), salt, garlic, ginger, sugar and a savory element such as fish sauce or a substitute. The equipment is a large non-reactive bowl, a colander, a sharp knife, a cutting board, wide-mouth glass jars, and a weight to keep the cabbage under its brine. Gather these before starting, because the cabbage is best packed soon after it is salted and rinsed.
Gochugaru grades and heat levels
Gochugaru is sold in two main textures. Each works for a first batch, and the difference is mainly in how the paste looks and feels.
| Form | Texture | Practical effect for beginners |
|---|---|---|
| Coarse flakes | Visible red flakes | Cling to the cabbage leaves; dissolve more slowly in the paste |
| Fine powder | Dust-like | Blend evenly into the paste; spread more uniformly over the leaves |
Heat is not standardized across brands. Read the product label, and if the heat level is unknown, use a smaller quantity for the first batch and adjust the next one.
Fish sauce alternatives for vegetarian and vegan versions
Fish sauce adds salt and savory depth. Vegetarian and vegan versions commonly replace it with a seaweed-based or mushroom-based seasoning, or with soy sauce. Because these substitutes differ in saltiness from fish sauce, taste the paste before packing and adjust the salt rather than assuming a one-to-one swap.
Glass jars, weights and airlocks
- Jars: Wide-mouth glass jars make it easier to pack the cabbage and to see the brine level.
- Headspace: Leave a 1-inch gap between the cabbage and the jar rim, as described in the Chowhound method.
- Weights: A glass fermentation weight or a small sealed bag filled with brine keeps the cabbage submerged.
- Airlocks: An airlock lid lets gas escape while limiting contact with air. Loosely covered jars are used, so an airlock is an optional choice rather than a requirement.
Equipment cleaning
UGA Extension (2025) advises sanitizing equipment in water at 160 °F (71 °C) or hotter for at least 30 seconds before use. Apply this to jars, weights, bowls and utensils that touch the cabbage.
How do you salt the cabbage?
Salting is the step that turns firm, chopped napa cabbage into a pliable base for kimchi. Salt pulls water out of the leaves through osmosis, so the cabbage softens and releases liquid that forms a brine around the pieces. A typical beginner method, as described by Chowhound, uses ½ cup of salt for about 2½ hours with the cabbage held under a weight. The weight keeps the pieces submerged in their own liquid so the salt contacts every surface evenly.
Choose a coarse, non-iodized salt when you can. Fine iodized table salt is denser by volume, so the same half cup contains more salt, which makes it easy to over-salt. Coarse salt also dissolves more slowly, which helps the cabbage release water gradually instead of collapsing. Avoid salts with anti-caking additives, since they can leave the brine cloudy.
Work in a large bowl so the cabbage has room to release liquid without spilling. Toss the pieces with the salt in batches, pressing the cabbage down in the bowl and placing a weight on top. Check the leaves after the salting period: the thick stem sections should bend rather than snap, and the leaves should feel limp and slightly damp.
| Stage | Action | Detail |
|---|---|---|
| Salting | Coat with salt, add weight | ½ cup salt, about 2½ hours |
| Rinsing | Rinse each batch in cool water | Removes surface salt so the seasoning is not overly salty |
| Draining | Let cabbage sit in a colander | Removes excess water before the paste is added |
Rinse thoroughly after salting. Surface salt left on the leaves will make the finished kimchi taste harsh, and it will also affect how the paste adheres. Rinse each batch under cool water, then move it to a colander and let it drain fully. Excess water dilutes the seasoning paste and can make the final texture watery, so press the cabbage gently to remove pooled liquid before mixing.
How do you make the paste and pack the jar?
The seasoning paste is mixed after the salted cabbage has been rinsed and drained. Its job is to coat every leaf, and the packing step determines whether the cabbage stays under its own brine during fermentation. Both steps are short, but they set up the conditions for the rest of the batch.
Blending the paste
Combine garlic, ginger, gochugaru (Korean chili flakes), sugar and fish sauce in a bowl or small blender until the mixture forms a uniform, spreadable paste. The ingredients each contribute something specific:
| Ingredient | Role in the paste |
|---|---|
| Garlic | Aromatic base and flavor backbone |
| Ginger | Sharp, fresh note that balances the garlic |
| Gochugaru | Color and heat, which varies by brand |
| Sugar | Provides a food source for the lactic acid bacteria that drive fermentation |
| Fish sauce | Adds savory depth and salt, and is the main source of umami |
Coating and packing
Work the paste into the drained cabbage with your hands, rubbing it between the leaves so the coating is even. Gloves help with the chili and garlic. Pack the coated cabbage into the jar in firm layers, pressing each layer down so air pockets are reduced.
Leave a 1-inch gap between the top of the cabbage and the rim of the jar. This space holds the liquid that rises as the cabbage releases water and gives room for gas produced during fermentation without pushing brine over the edge.
Keeping the cabbage under brine
The cabbage must stay below the liquid line. Cabbage that rises above the brine is exposed to air, which is the main reason batches develop surface problems. Press the cabbage down daily throughout fermentation, using a clean hand or utensil, and check that the leaves are submerged again after each press.
How long should kimchi ferment?
Napa cabbage kimchi spends its first stage at room temperature, and beginner sources disagree on how long that stage should last. The University of Georgia Extension (CAES) guide, dated 2025-08-05, says to ferment in loosely covered jars at room temperature for the first 48 hours, then refrigerate. A typical beginner napa recipe from Chowhound instead calls for about 3 days at room temperature. The gap is roughly one day, and a beginner can work within it by checking the jar as well as the calendar.
The first 48 hours at room temperature
Set the jar on a tray to catch any brine that overflows. Once the 48 hours are up, move the jar to the refrigerator, which slows fermentation so the flavor keeps developing at a gentler pace.
Reconciling the three-day beginner method
The two figures come from different kinds of source. The 48-hour figure is an extension guideline, while the three-day figure is a home recipe. A practical way to reconcile them:
- Start checking the jar at the 48-hour checkpoint set by the UGA guide.
- If the kimchi has not reached the sourness you want at 48 hours, the UGA guide still directs you to refrigerate it; flavor will keep developing more slowly in the cold.
- If it already tastes tangy at 48 hours, refrigerate it and let the flavor develop more slowly.
Batches vary with kitchen temperature and ingredient quantities, so the taste checks below matter more than the exact hour count.
Taste checkpoints for sourness and fizz
Taste the kimchi at each checkpoint and watch for two signs of activity:
- Sourness: A sharper, tangier flavor than the freshly mixed paste indicates the cabbage is acidifying. Mild sourness at 48 hours is a reasonable stopping point for a first batch if you prefer a fresher taste.
- Fizz: Bubbles in the brine and a noticeable fizz when you open the lid show that gas production is active. A jar that shows no change at all may need more time at room temperature before you refrigerate it.
Use a clean utensil for every taste so the batch is not contaminated between checks.
Is homemade kimchi safe?
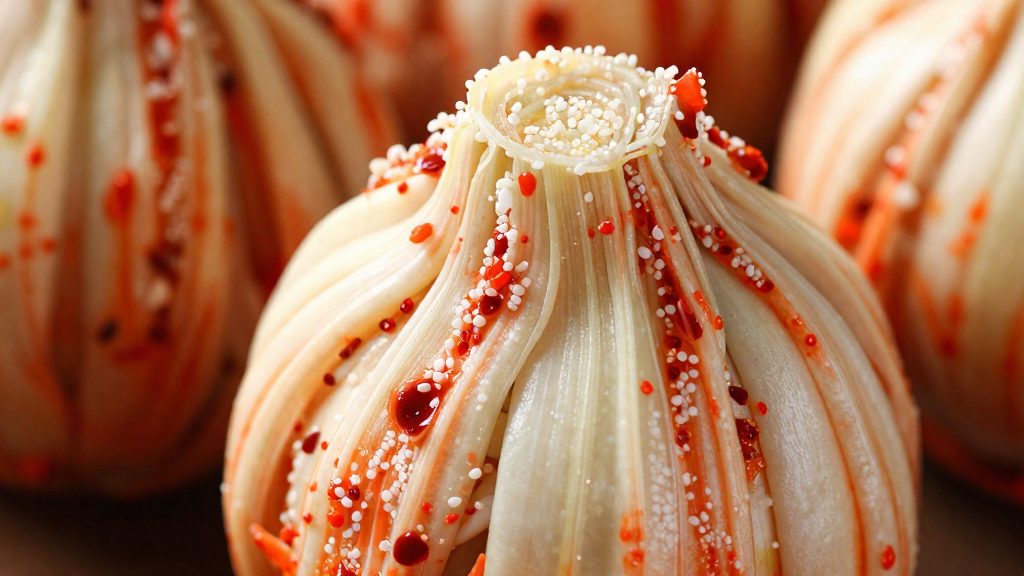
Homemade kimchi can be made safely when it reaches a measurable acidity level and the hands, tools and containers are clean. According to University of Georgia Extension (CAES) (2025), the safety benchmark for kimchi is a pH below 4.6, which the guide says is reached after about 2 weeks of fermentation. Acidity is what limits harmful bacteria, so the pH target matters more than how the jar looks. The two-week figure is an approximate timeline, not a guarantee. Confirm acidity with a pH meter or pH test strips rather than relying on taste or the calendar, and do not treat a batch as verified safe until it has tested below pH 4.6.
Hygiene is the second layer of protection. The guide advises washing hands for at least 20 seconds before handling the cabbage, salt, paste or brine.
The third check is the allergen review. The guide tells cooks to read each recipe for allergens and names four common ingredients:
| Ingredient | Allergen category | Typical role in kimchi |
|---|---|---|
| Fish sauce | Fish | Salty, savory base in the seasoning paste |
| Shrimp paste | Shellfish | Fermented seafood seasoning |
| Sesame oil | Sesame | Finishing oil or paste ingredient |
| Soy sauce | Soy | Salt and umami source |
Because these ingredients are often swapped in or out between recipes, the check has to be done on the exact products used in each batch. Recipes that call for a general “seafood seasoning” or “Asian sauce” should be read closely before purchase.
How should you store kimchi?
Once the room-temperature fermentation is finished, kimchi goes into the refrigerator. The University of Georgia Extension (CAES) (2025) advises keeping kimchi at 41 °F or below in the refrigerator. Cold storage keeps the jar stable so the cabbage keeps its texture and flavor for longer than it would at room temperature.
Refrigerator holding
- Set the refrigerator to hold 41 °F or below. Check the actual temperature with a refrigerator thermometer, because the dial setting does not always match the air temperature inside.
- Store the jar on a shelf rather than in the door, where temperatures swing more with each opening.
- Keep the jar closed between uses so the brine and cabbage are not exposed to air and handling.
Transferring kimchi from jar to cold storage
- Wash your hands for at least 20 seconds before touching the kimchi or its container, as the UGA Extension guide advises.
- Move the kimchi together with its brine so the cabbage stays covered.
- Seal the container and place it in the refrigerator promptly.
Discard criteria
Check the kimchi before each use. The same guide says to discard kimchi that shows any of the following signs:
| Sign | Action |
|---|---|
| Mold | Discard the batch |
| Off odor | Discard the batch |
| Unusual texture | Discard the batch |
If a batch is partly affected, discard the whole container.
Common beginner mistakes
Three handling errors are common in beginner napa kimchi batches: using the wrong container materials, opening the jar too often, and fermenting in a kitchen that is too warm. Each one changes either the chemistry of the brine or the texture of the cabbage, and each is easy to avoid once you know what to look for.
Reactive metal lids and utensils
Salted, acidic brine can react with some metals. Aluminum, copper and unlined iron can corrode, leaving metallic off-flavors and discoloration in the kimchi. Many beginners reach for a metal bowl, a metal-lidded jar or a spoon with a reactive finish because it is within reach. Use glass, food-grade plastic or stainless steel for anything that touches the cabbage or the brine. Check that a jar lid has a non-reactive liner, or keep the lid from contacting the brine by using a weight and a plate inside the jar.
Opening the jar too often
Each time you lift the lid, you introduce fresh air and can disturb the anaerobic conditions that lactic acid bacteria need, so open the jar only for the daily press-down and clean tastings, and close it again promptly.
Fermenting in a warm kitchen
Higher room temperatures speed up fermentation and can push the cabbage into a soft, mushy texture before the flavor has developed. Beginners often notice the batch tasting sour or slack within a short time and assume the recipe failed. The problem is usually temperature, not the ingredients. Choose the coolest stable spot in the kitchen, away from the stove, dishwasher or sunny windows, and check texture as well as taste during the first few days.
| Mistake | Effect | Practical fix |
|---|---|---|
| Reactive metal contact | Off-flavors, discoloration | Glass, food-grade plastic or stainless steel |
| Warm room placement | Soft texture, rapid sourness | Move to a cooler, steady spot |
Frequently asked questions
How long should napa cabbage kimchi ferment before I refrigerate it?
According to University of Georgia Extension (2025), keep the jar loosely covered at room temperature for the first 48 hours, then move it to the refrigerator. Beginner recipes such as the one from Chowhound ferment for about 3 days at room temperature, so the room-temperature stage can run longer or shorter depending on the recipe and your kitchen.
How can I tell whether my kimchi is safe to eat?
University of Georgia Extension (2025) sets a pH below 4.6 as the safety target, which it says is reached after about 2 weeks of fermentation. Discard the kimchi if you see mold, notice an off odor, or find an unusual texture.
Which ingredients should I check for allergens before making napa kimchi?
University of Georgia Extension (2025) advises checking recipes for fish sauce, shrimp paste, sesame oil and soy sauce. Read the labels of each seasoning, because these are the ingredients that most often contain allergens in a kimchi recipe.