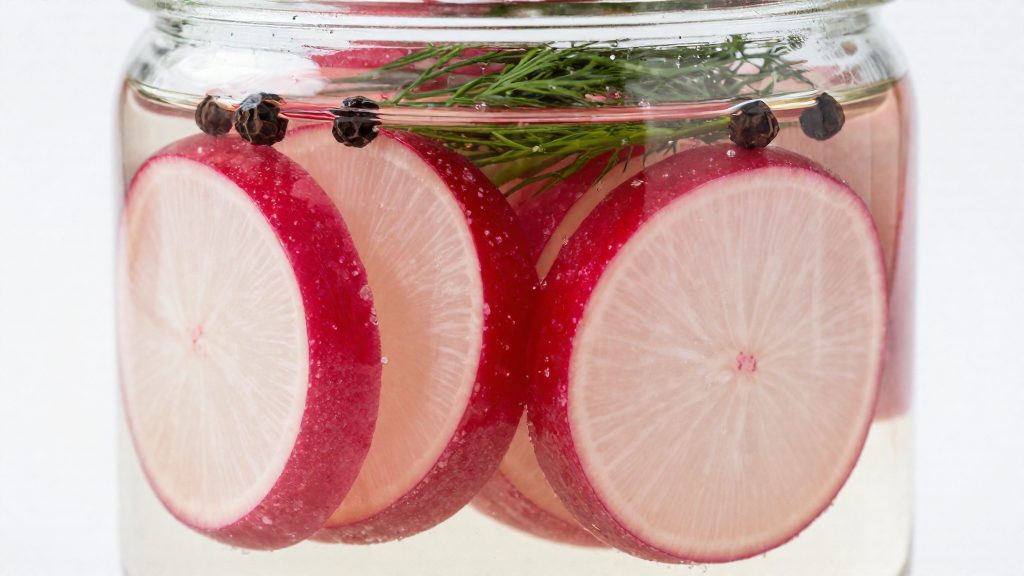
Lactic fermentation turns raw sliced radishes into a tangy, savory product through lactic acid bacteria already present on the vegetable, not through added vinegar. The process changes flavor, texture and the appearance of the brine in ways a quick vinegar pickle does not.
Why ferment sliced radishes?
What the bacteria change
In a salt brine, lactic acid bacteria consume the sugars in radish flesh and produce lactic acid as they multiply. This acidity gives the finished slices their sour edge, and the bacteria also generate aromatic compounds that round out the flavor. The sharp, peppery bite of raw radish softens into a tangy, more complex taste.
Published recipes differ in how long this takes. According to Edible Vancouver Island (2020), a Vancouver Island recipe ferments at room temperature for 5–10 days. Farmsteady’s recipe for thinly sliced radishes gives 3–5 days at room temperature. Farmsteady’s shorter window applies to thinly sliced radishes, and the flavor you want depends on how sour you prefer the result.
Texture and crunch compared with pickling
A vinegar pickle gets its acid directly from the vinegar, with no bacterial activity involved. Lacto-fermentation uses neither vinegar nor heat. The radish slices soften gradually as the brine works on them.
Sensory profile of finished slices
Finished radish slices are typically salty and sour, with the heat of raw radish mellowed, though the sources give no detailed sensory profile.
| Source | Room-temperature fermentation time |
|---|---|
| Edible Vancouver Island (2020) | 5–10 days |
| Farmsteady | 3–5 days |
What equipment do you need?
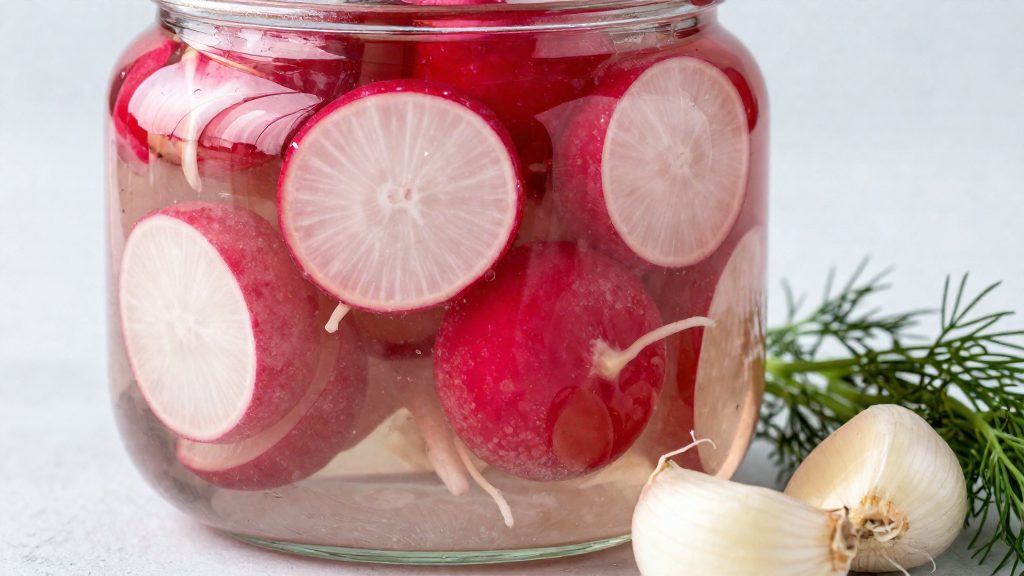
A sliced radish ferment needs three functional parts: a vessel sized for the slices and brine, a fermentation weight that keeps the radishes below the liquid, and a lid that either vents gas through an airlock lid or is opened by hand on a regular lid. Edible Vancouver Island (2020) and Farmsteady both specify a weight. Farmsteady uses an airlock lid, while the Edible Vancouver Island recipe allows either an airlock lid or a regular lid that is burped daily.
Jar and crock sizing for slice volume
The vessel must hold the radish slices and the full brine volume together, with space above the liquid. Edible Vancouver Island (2020) uses 6 cups of filtered water for ¼-inch (about 6 mm) radish rounds, and Farmsteady uses 1 quart of water for thinly sliced radishes. Check the volume of the quart and cup measures you use, and convert to millilitres and grams for precision. These volumes are reference points for scaling: a larger batch needs a proportionally larger container. The recipes consulted do not specify a jar capacity or crock diameter, so measure the slices before filling. Thinner slices and thicker rounds occupy different volumes, so a container that fits one batch may be too small for another. A wide-mouth jar makes it easier to add and remove both the slices and the weight.
Fermentation weights and submersion hardware
Both recipes call for a fermentation weight. Choose a weight whose diameter fits inside the jar opening and that sits flat on the slices. The sources do not name specific weight models or materials, so select a weight that matches your container’s inner diameter.
| Component | Function | Recipe source |
|---|---|---|
| Fermentation weight | Holds slices below the brine | Edible Vancouver Island (2020); Farmsteady |
| Airlock lid | Lets gas escape without opening the jar | Farmsteady; Edible Vancouver Island (2020) |
| Regular lid | Must be opened (burped) daily | Edible Vancouver Island (2020) |
Airlock lid versus regular lid
A regular lid requires daily attention. Edible Vancouver Island (2020) directs you to burp it daily during a room-temperature ferment of 5–10 days, which means opening the jar roughly once per day across that window. An airlock lid removes this step, and Farmsteady pairs its fermentation weight with an airlock lid for a 3–5 day room-temperature ferment. Choose an airlock lid if you want to avoid daily opening, or a regular lid if you can commit to daily checks over the longer 5–10 day schedule. Both options appear in the recipes consulted.
What brine ratio works for radishes?
The two published radish brines differ mainly in salt per quart of water. Edible Vancouver Island (2020) uses 3 Tbsp of sea salt in 6 cups of filtered water for ¼-inch radish rounds. Six cups equal 1.5 quarts, so that recipe works out to 2 Tbsp per quart. Farmsteady’s recipe for thinly sliced radishes uses 1.5 Tbsp of kosher salt per quart. By volume, the first brine contains roughly a third more salt, but the salt type also differs, so the comparison is not direct.
| Source | Water | Salt | Salt per quart (derived) | Salt type |
|---|---|---|---|---|
| Edible Vancouver Island (2020) | 6 cups (1.5 quarts) | 3 Tbsp | 2 Tbsp | Sea salt |
| Farmsteady | 1 quart | 1.5 Tbsp | 1.5 Tbsp | Kosher salt |
Why volume measures don’t match
A tablespoon measures volume, not mass. Sea salt and kosher salt differ in crystal size and shape, so equal tablespoons can weigh different amounts. Weigh a tablespoon of each salt on a kitchen scale to find its actual weight.
Converting volume to a weight-based percentage
Brine strength is expressed as the salt weight divided by the water weight, multiplied by 100:
Salt % = salt weight ÷ water weight × 100
To calculate it for your own jar:
- Weigh the empty jar, fill it with the recipe’s water volume, and weigh it again. Subtract the empty weight to get the water weight.
- Level a tablespoon of your salt on a scale and record the weight. Multiply by the number of tablespoons in the recipe.
- Divide the salt weight by the water weight and multiply by 100.
Once you have this figure, you can compare recipes that use different salts on equal terms.
Boiling chlorinated tap water
Edible Vancouver Island (2020) advises boiling the water for 20 minutes if the tap water is chlorinated. Do this before dissolving the salt, and let the water cool before you add it to the radishes. The recipe’s ratio assumes filtered water, so boiling is the step that makes tap water usable for the brine.
How to ferment radish slices step by step
Fermenting sliced radishes at home comes down to four physical steps: slice and pack, cover with brine, control the headspace, and release built-up gas each day. The Edible Vancouver Island recipe (2020) uses ¼-inch rounds, and the fermentation-supply manufacturer Farmsteady specifies thinly sliced radishes. The steps below follow the Edible Vancouver Island recipe, and Farmsteady’s thinner cut can be handled the same way.
Slicing and packing
Wash the radishes and trim both ends. Slice them into uniform rounds, close to ¼ inch thick, so the pieces ferment at a similar pace. Pack the rounds into a clean jar or crock in loose layers, pressing lightly so the slices lie flat rather than stacking into a dense mass.
Brining and headspace
Pour the prepared brine over the packed slices until they are fully covered. Leave 1 inch of headspace between the liquid and the rim of the vessel. This gap allows the brine to rise during fermentation without overflowing.
Submersion check
Before sealing, press the slices down and look for any piece floating above the liquid. The Edible Vancouver Island recipe requires the radishes to stay under the brine for the full ferment, so weight them as needed. Repeat the check each time you open the lid, because slices that drift upward are the ones most likely to be exposed.
Sealing and daily burping
Close the vessel with either an airlock lid or a regular lid. The Edible Vancouver Island recipe allows both. With a regular lid, burp it once a day: lift it briefly to release accumulated gas, then press it back down. An airlock lid does not need this step. Keep the schedule consistent.
| Step | Action | Specified detail |
|---|---|---|
| Slicing | Cut into rounds | ¼-inch rounds (Edible Vancouver Island, 2020) |
| Headspace | Leave gap below rim | 1 inch (Edible Vancouver Island, 2020) |
| Lid care | Regular lid, opened daily | Burped daily (Edible Vancouver Island, 2020) |
How long do radishes take to ferment?
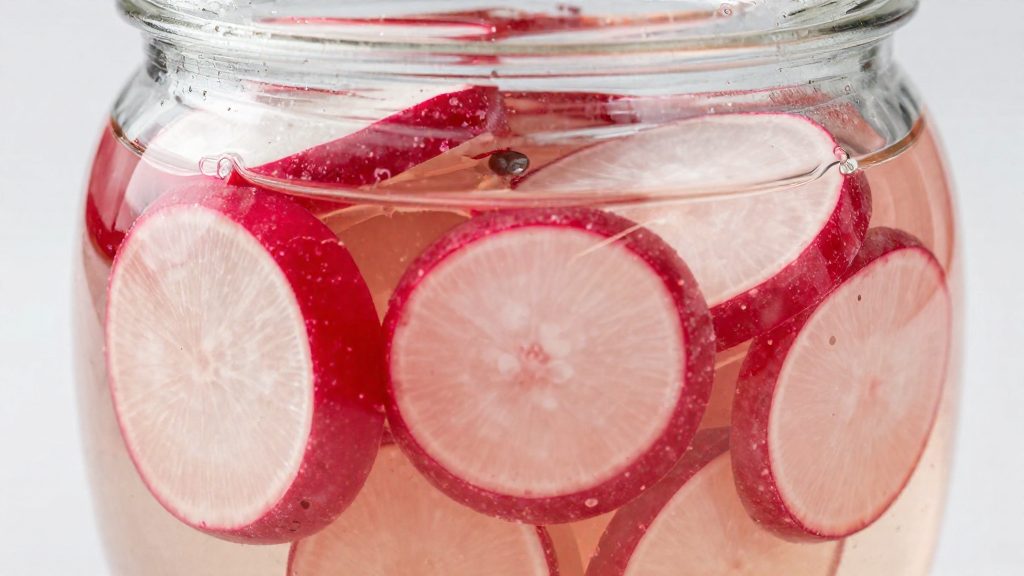
Sliced radishes ferment at room temperature in about 3 to 10 days, depending on the recipe. Farmsteady, a fermentation-supply manufacturer, gives 3–5 days for thinly sliced radishes. Edible Vancouver Island (2020) gives 5–10 days for ¼-inch radish rounds. The cut and the salt level differ between the recipes. Treat these ranges as starting points, not fixed schedules.
| Recipe | Cut | Salt and water | Room-temperature time |
|---|---|---|---|
| Farmsteady | Thinly sliced | 1.5 Tbsp kosher salt per 1 quart water | 3–5 days |
| Edible Vancouver Island (2020) | ¼-inch rounds | 3 Tbsp sea salt in 6 cups filtered water | 5–10 days |
Visual cues during fermentation
Two signs are expected in the Edible Vancouver Island (2020) recipe:
- Cloudy brine: The liquid turns murky as the radishes ferment. This is normal.
- Small bubbles: Fine bubbles rising through the brine show that fermentation is active. This is also normal.
Neither sign tells you when the ferment is finished. Cloudiness and bubbling show activity, not flavour or completion, so use them only to confirm that the jar is working.
Taste testing to decide when to stop
The practical method is to open the jar at the low end of the stated range, remove a slice with a clean utensil, and taste it. If it is still mild or flat, return the jar to room temperature and test again later. Stop when the sourness suits you.
Do not treat a mild, barely tangy flavour as the finish line. IFT Food Technology Magazine (2022-07-31) reports that lightly fermented products such as half-sour pickles and kimchi have been linked to outbreaks and recalls, so an early stop carries its own risk.
Is fermented radish safe to eat?
Fermented radish is safer when the brine becomes acidic and stays acidic, because toxin-producing Clostridium and Bacillus cannot grow below pH 4.6. Acidity alone does not remove all risk, since lightly fermented vegetables have been linked to outbreaks. According to IFT Food Technology Magazine (2022), toxin-producing Clostridium and Bacillus cannot grow below pH 4.6, and lactic acid bacteria tolerate pH as low as 3.5. The naturally present lactic acid bacteria are relied on to outcompete pathogens. For a home batch, the practical questions are whether the ferment is acidifying and whether it shows signs of contamination.
pH thresholds and pathogen control
| Organism or group | Limit reported | Source |
|---|---|---|
| Toxin-producing Clostridium and Bacillus | Cannot grow below pH 4.6 | IFT Food Technology Magazine (2022) |
| Lactic acid bacteria | Tolerate pH as low as 3.5 | IFT Food Technology Magazine (2022) |
A pH threshold only protects the batch once the mixture reaches that acidity. Treat the threshold as the goal, not a guaranteed outcome.
Outbreaks in lightly fermented vegetables
The same IFT source states that lightly fermented products, such as half-sour pickles and kimchi, have been linked to outbreaks and recalls. One cited example is E. coli in kimchi in Canada in December 2021. Radish ferments may be lightly fermented depending on how long they ferment, so handle them with the same attention to acidity and hygiene.
Mould and kahm yeast versus harmful spoilage
| Sign | Typical appearance | Action |
|---|---|---|
| Kahm yeast | Thin, flat, white film on the surface | Skim it off and keep the radishes submerged |
| Mould | Fuzzy or coloured growth, such as green, black, blue, or pink | Discard the batch |
| Putrid smell | Rotten or sewage-like, unlike a clean sour odour | Discard the batch |
Storing and using your radish pickles
Once the radishes have finished fermenting, move the jar to the refrigerator. Edible Vancouver Island (2020) recommends refrigerating the jar after fermentation and gives a storage life of 3–6 months for its radish recipe. That range belongs to that recipe’s salt and brine ratio, so do not assume it applies to radish ferments made with other methods.
Portioning for fridge storage
Divide the batch into smaller containers before you open it. Each time the lid comes off, the brine is exposed to air and to utensils, so a single large jar that is opened daily is more likely to be disturbed than several smaller ones. Choose a jar size that matches how quickly your household eats radish pickles.
Serving ideas for fermented radish slices
The slices have a crisp texture and a sharp, salty flavour, which makes them useful as a condiment rather than a side that needs cooking. Common ways to use them include:
- Topping tacos, grain bowls, and sandwiches, where the crunch contrasts with soft fillings.
- Chopping the slices into potato salad, egg salad, or slaw dressings.
- Layering them over rich foods such as fried eggs, roasted vegetables, or cheese boards.
- Serving them as a brine-soaked garnish alongside grilled meats or fish.
Use a clean spoon or fork each time you take a portion, and return the jar to the refrigerator promptly after serving. Because the brine carries the flavour, a small splash of it can also season a dressing or marinade.
Frequently asked questions
Is cloudy brine a sign that my radishes have spoiled?
No. Edible Vancouver Island (2020) expects a cloudy brine and small bubbles during room-temperature fermentation, so a murky jar is part of normal activity. What matters is that every slice stays under the liquid, which the weight holds in place.
Should I use an airlock lid or a regular lid?
The Edible Vancouver Island recipe (2020) allows either an airlock lid or a regular lid that you open once a day to release built-up gas, and Farmsteady uses an airlock. An airlock removes the daily step, while a regular lid requires it.
Is fermented radish safe to eat?
Acidity is the main barrier: according to IFT Food Technology Magazine (2022), toxin-producing Clostridium and Bacillus cannot grow below pH 4.6. Acid alone is not enough, though, because lightly fermented products such as kimchi have been linked to outbreaks, including an E. coli case in Canada in December 2021, so keep jars, tools and hands clean.