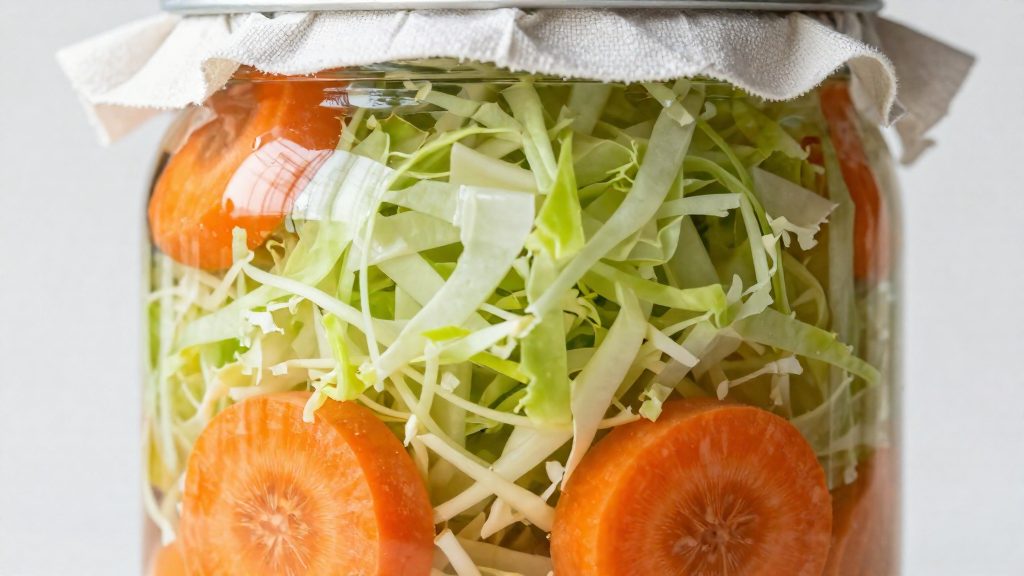
Whey is not needed because the bacteria that drive vegetable fermentation already live on the produce. Fresh, raw vegetables carry wild lactic acid bacteria on their surfaces, and these microbes begin fermentation without any added starter. The American Homebrewers Association (Brewers Association) primer recommends using at least 50% fresh, raw vegetables in the mix.
Why whey isn’t needed to ferment vegetables
Whey is a dairy liquid that some recipes use as a starter.
Epiphytic bacteria on fresh produce
Epiphytic lactic acid bacteria live on the outer surface of plants rather than inside their tissue. They are present on fresh produce before any jar is packed. Once vegetables are cut and submerged in brine, these bacteria multiply and convert plant sugars into lactic acid, which lowers the pH and shapes the flavor of the ferment.
Why the vegetable share of the mix matters
The starter population depends on how much fresh, raw produce goes into the jar.
| Component | Role in the ferment |
|---|---|
| Fresh, raw vegetables (at least 50% of the mix) | Carry the epiphytic lactic acid bacteria that start fermentation |
Confirming progress without a starter
Instead of adding whey, check acidity.
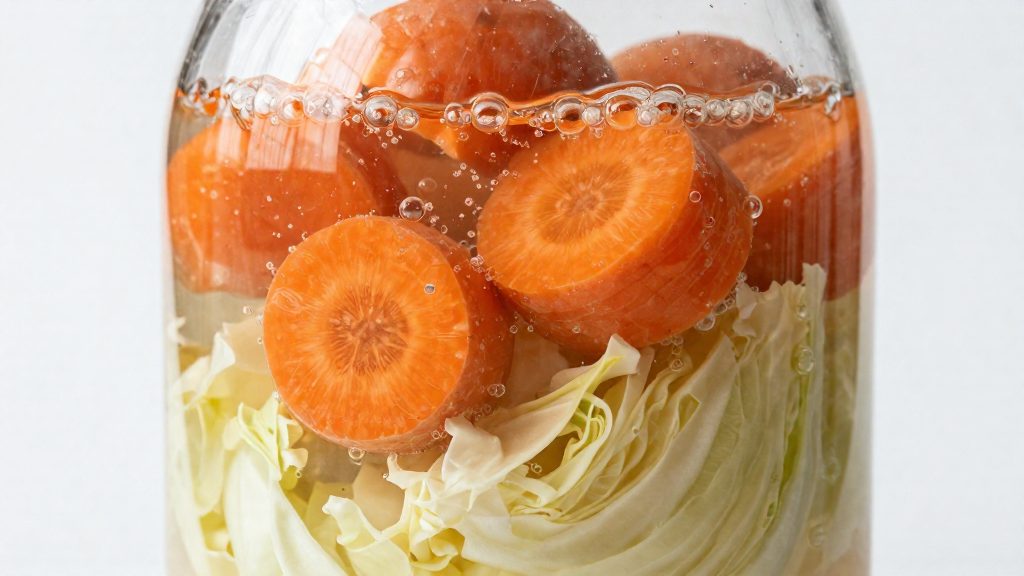
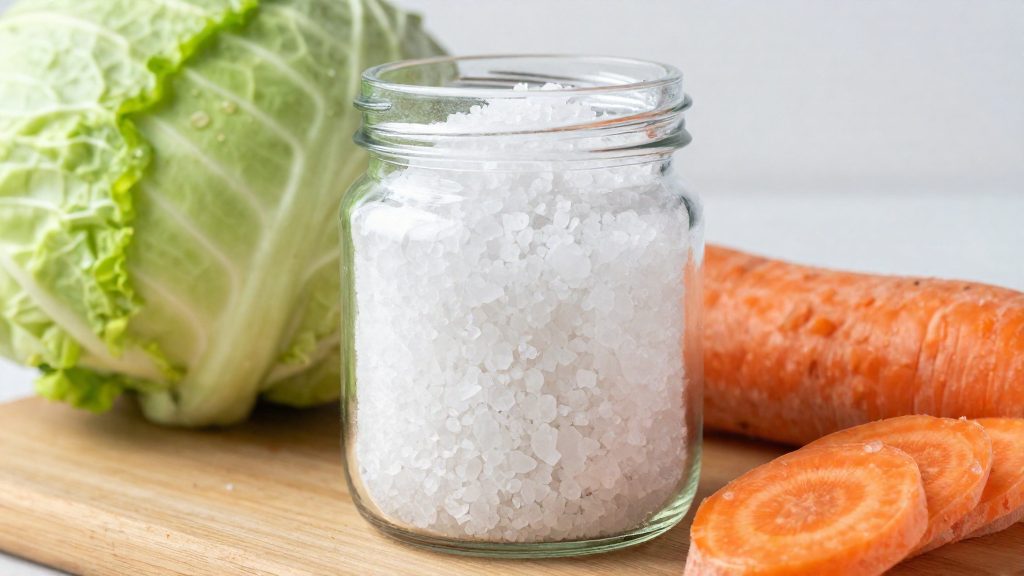
What you need: salt, vegetables, jar and weight
A basic vegetable batch needs four things: salt, fresh produce, a clean jar, and a way to keep the vegetables under the liquid. The steps below cover how to gather and prepare each item.
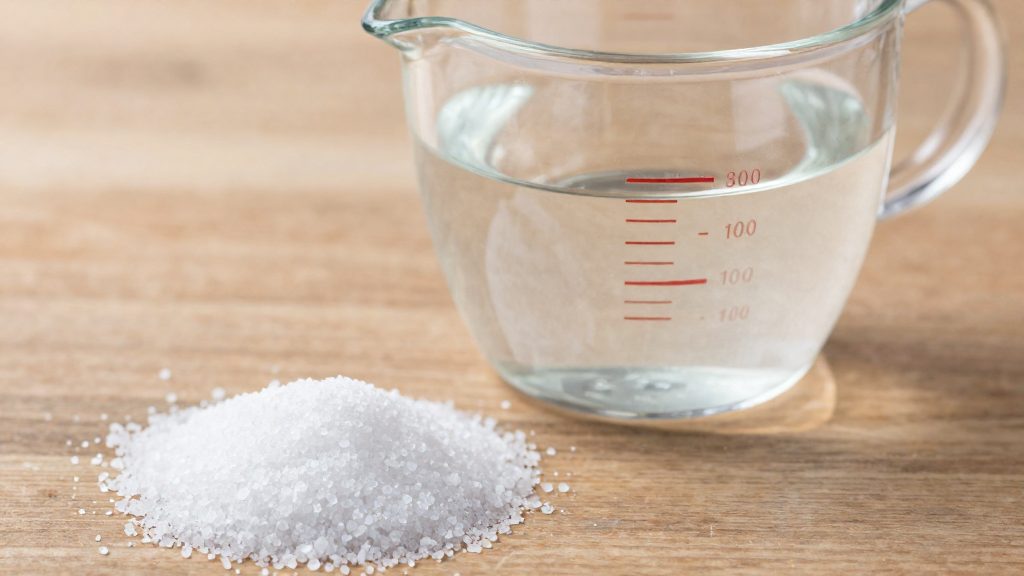
Weigh the salt
Use a kitchen scale and measure the salt in grams. Volume measures such as spoons or cups vary widely with grain size and how tightly the salt is packed, so the same spoon can deliver very different amounts. Weighing gives you the same result each time you make a batch.
Choose firm, unbruised produce
Select vegetables that are firm and free of soft spots, cracks, and mold. Damaged pieces should be trimmed away or discarded rather than fermented. Wash the produce, then cut it to the size your recipe calls for. Remove any wilted outer leaves, since they add little to the ferment and are more likely to be damaged.
Submerging tools
Vegetables must stay below the brine, so you need a tool to hold them down. The main options are:
| Tool | How to use it |
|---|---|
| Folded cabbage leaf | Fold a clean outer leaf so it fits the jar’s opening and lay it over the vegetables. |
| Sanitized stone | Clean it thoroughly before use, then place it on top of the vegetables. |
| Fermentation weight | Set it on the vegetables to hold them under the liquid, without needing to cut the produce to fit. |
Choose the tool that fits your jar’s opening.
What salt ratio should you use for brine?
In brine-based vegetable ferments, the salt percentage is the main variable you control. According to the American Homebrewers Association (Brewers Association), lactic acid bacteria tolerate brines of 1.5–5% salt, and 2–3% is ideal for flavor in most vegetable ferments. The percentage is calculated against the water in the brine, so you set it before any vegetables go in. Choosing it well means balancing two requirements: the bacteria must be able to work in the brine, and the finished ferment should taste right.
Target range: 2–3% salt
For most vegetables, aim for 2–3% salt. Within it, the exact figure is a matter of taste:
- Lower end (about 2%): a lighter, more vegetal flavor, and a less salty finished product.
- Upper end (about 3%): a firmer, more seasoned result.
Pick one figure and keep it consistent between batches so you can compare results.
Tolerance range: 1.5–5% salt
The table below gives the salt weight for three common points, based on 1 quart (4 cups) of water (about 1 litre):
| Brine salt level | Salt per 1 quart (4 cups) water | Position relative to guidance |
|---|---|---|
| 2% | about 20 g | Lower end of the 2–3% ideal range |
| 3.5% | about 35 g | Above the ideal range, within the tolerance range |
| 5% | about 50 g | Upper limit of the tolerance range |
Why flavor and bacterial tolerance shape the percentage
Moving above 3% keeps the brine within tolerance but leaves the flavor benefit of the ideal range, and moving toward 5% pushes the brine to the upper edge of what the bacteria are reported to tolerate. Going below 1.5% falls outside the range the source lists.
Dry-salting vs brine method
The two main ways to salt vegetables differ in how the salt reaches the produce and where the liquid comes from. With dry-salting, you rub salt directly onto the vegetable and let it release its own juice. With the brine method, you dissolve salt in water first and pour the solution over the vegetables. Either way, the goal is a salty liquid that covers the vegetables and lets lactic acid bacteria thrive while other microbes struggle.
Dry-salting: salt worked into the vegetable
Dry-salting suits shredded or finely sliced vegetables, such as cabbage. Salt is massaged into the pieces by hand, squeezing them until they soften and release liquid. The salt draws moisture out of the cells, so the brine forms in the bowl itself. The solids and that liquid are then packed into the jar together.
Brine method: solution poured over the vegetables
The brine method suits whole or chopped vegetables, such as carrots. The salt is dissolved in water beforehand. The vegetables are packed into the jar and the brine is poured over them. Little or no liquid comes from the vegetables at this stage, so the solution has to cover the produce from the start.
Resting time before packing
Resting applies only to dry-salting. After the salt is worked in, the shreds sit until liquid pools in the bowl and the texture visibly softens. Packing them before that point tends to leave too little liquid to cover the pieces. Once they are ready, press them down firmly into the jar to remove air pockets and push the liquid upward. Brine-method vegetables skip this step and go straight into the jar.
| Factor | Dry-salting | Brine method |
|---|---|---|
| How salt reaches the vegetable | Rubbed directly onto the pieces | Dissolved in water first |
| Source of liquid | Released by the vegetable | Added from outside |
| Typical form | Shredded or finely sliced | Whole or chopped |
| Resting before packing | Needed | Not needed |
| Liquid volume | Depends on the produce | Set by the prepared solution |
Jar, lid or airlock: which is best?
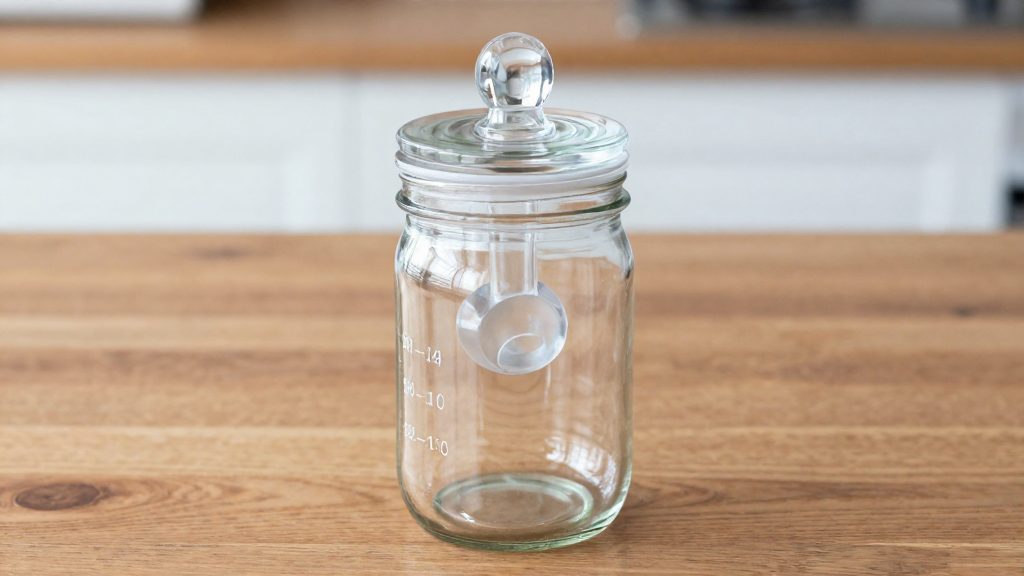
For a vegetable ferment, the jar can be closed with a standard Mason lid or an airlock. The main difference is how gas leaves the jar. The closure you choose should control gas release as well as keep the vegetables protected.
Standard Mason lid left loose
A standard Mason lid is the simplest option. Place the lid on the jar without tightening it fully, so the gas produced during fermentation can escape past the lid. Tightening the lid can prevent that release.
Airlock
An airlock is the other closure the American Homebrewers Association (Brewers Association) names for this jar. Follow the manufacturer’s instructions for filling it and maintaining the water seal during fermentation.
Jar material and mouth width
Choose a jar whose opening lets you pack vegetables in and reach the brine to check it during fermentation.
How long should vegetables ferment?
Fermentation time depends on the vegetable and on the flavor you want. According to the American Homebrewers Association (Brewers Association), sauerkraut ferments for 2–3 weeks or longer, and carrots ferment for several days or longer. These figures are minimum windows for flavor to develop, not fixed endpoints. The jar can keep fermenting beyond them.
| Vegetable | Typical duration |
|---|---|
| Sauerkraut | 2–3 weeks or longer |
| Carrots | Several days or longer |
Judging readiness by taste
Taste is the main indicator. Use a clean utensil to take a small portion from the jar, then sample again at intervals. Comparing each sample with the previous one shows how quickly the flavor is changing. Stop when the vegetables taste the way you want, rather than when a set number of days has passed. Taste only tells you about flavor: also confirm that the pH is below 4.6 before you serve or store the batch.
Keep the jar closed between samples so that the contents are not exposed to more air than necessary.
Stopping the fermentation
Refrigeration is the practical way to halt the process. Once the flavor suits you, move the jar to the refrigerator. The cold slows fermentation to near standstill, so the taste changes far more slowly afterward.
Durations for other vegetables
Is homemade fermented veg safe? Checking pH and spoilage
According to Utah State University Extension, the pH must drop below 4.6 for fermentation to eliminate potential pathogens. This is a necessary check, not a guarantee of safety. Signs of spoilage still mean the batch should be discarded. According to Utah State University Extension, the pH must drop below this value for fermentation to eliminate potential pathogens. Acidity is the measure that matters, not appearance or aroma alone, so the batch should be checked rather than assumed to be ready.
Reading the 4.6 threshold
Lactic acid bacteria produce acid as the batch ferments, and pH falls over time. A reading of 4.6 or above means the batch has not reached the acidity that the threshold requires.
Measuring pH at home
Two tools are recommended: a digital pH meter or test strips, and in both cases the reading must be precise enough to show one decimal place. A strip that reads only whole numbers cannot distinguish 4.5 from 4.7, so it cannot confirm the threshold.
| Result | Meaning for the batch |
|---|---|
| Below 4.6 (e.g., 4.4) | Threshold met for pathogen suppression |
| 4.6 or above | Threshold not yet met; keep checking |
| Strip reads whole numbers only | Resolution too low to confirm the threshold |
Recognizing spoilage
The following signs reflect general food-safety practice:
- Fuzzy mold in any color, on the surface or within the vegetables, is a reason to discard the batch.
- Putrid or rotten smells differ from the sharp, sour aroma of normal fermentation and call for disposal.
- Slimy textures on the vegetables themselves, as opposed to the brine surface, indicate spoilage.
- A white film can be hard to tell apart from mold. If you are not sure what it is, discard the batch.
When in doubt, discard the batch rather than testing its safety by taste.
Starters without whey: brine, juice or nothing?
Most vegetable ferments do not need a starter. Reused brine or juice from a finished ferment are optional additions, not requirements.
When plain salt and fresh produce need no starter
- Cooked produce has lost most of its native bacteria, so a starter becomes more useful for those batches.
Reusing brine from a previous ferment
Brine left over from a completed batch carries lactic acid bacteria and acids into the new jar. To use it:
- Strain out vegetable pieces and debris before adding the liquid.
- Mix it with fresh brine and keep the vegetables fully submerged under a weight or folded cabbage leaf.
- Use brine only from a batch that finished properly.
Juice from a finished ferment as an inoculant
Liquid drained from a finished jar works the same way as reused brine: it adds bacteria that are already active in the product. Test the quantity on a small batch before scaling up.
| Option | Microbial source | Limit |
|---|---|---|
| Fresh raw produce alone | Bacteria already on the vegetables | No starter needed |
| Reused brine | Liquid from a previous batch | Not stated |
| Finished-ferment juice | Liquid from a completed jar | Not stated |
Frequently asked questions
Can I ferment vegetables with only salt and fresh produce?
Yes. Fresh, raw vegetables carry wild lactic acid bacteria that start fermentation on their own, and the American Homebrewers Association (Brewers Association) primer recommends at least 50% fresh, raw vegetables in the mix. The primer does not state this share as a requirement for fermentation to begin. Cooked produce has lost most of its native bacteria, so a starter may help for those batches.
How much salt should I use for the brine?
Lactic acid bacteria tolerate brines of 1.5–5% salt, and 2–3% is the range most often recommended for flavor. For 1 quart (about 1 litre) of water, 2% is about 20 g, 3.5% about 35 g and 5% about 50 g of salt. Weigh the salt on a kitchen scale, because the brine ratio stays consistent only when the mass is measured.
How do I know a batch is ready and safe to eat?
Taste tells you when the flavor suits you, but it cannot confirm safety. According to Utah State University Extension, a pH below 4.6 is the threshold for fermentation to eliminate potential pathogens, and a digital pH meter or test strips reading to at least one decimal place can check it. A pH reading is a necessary check, not a guarantee, so discard any batch with signs of spoilage, including a white film you cannot identify as harmless.