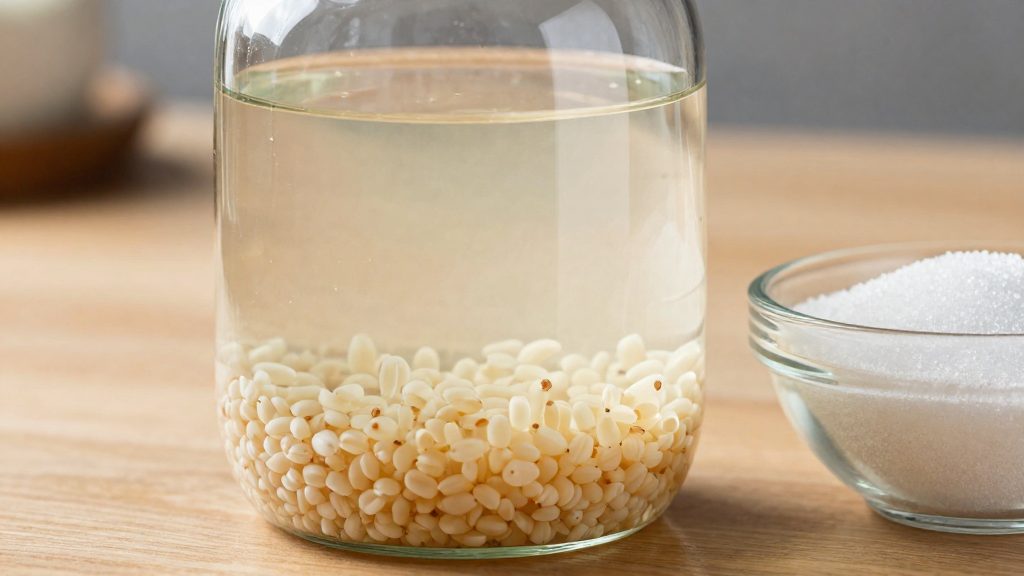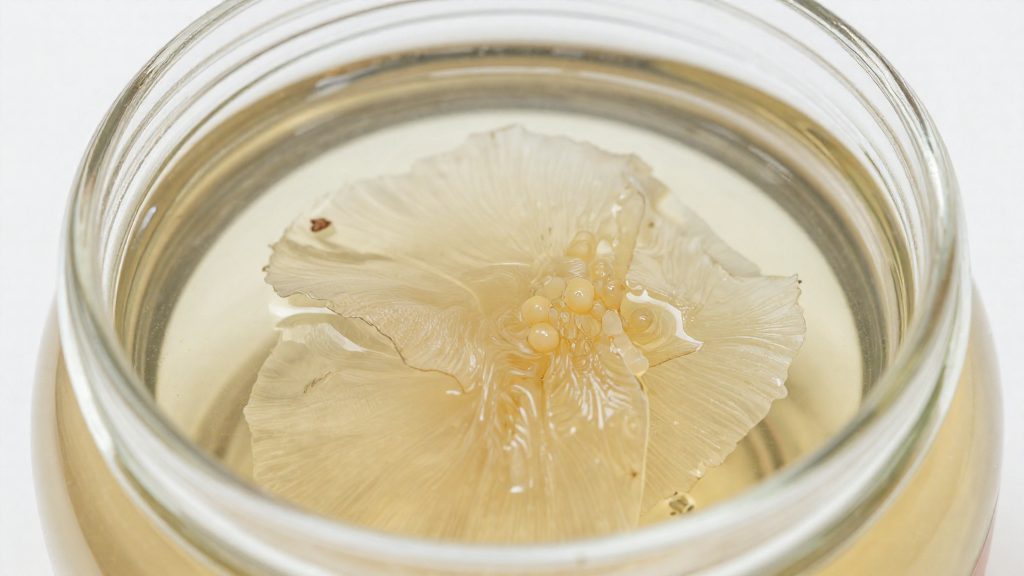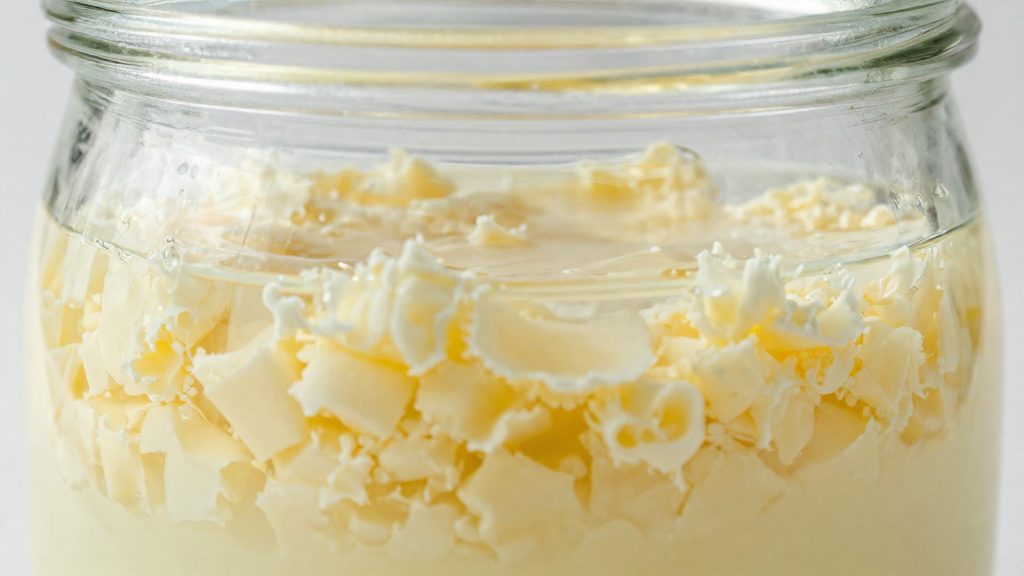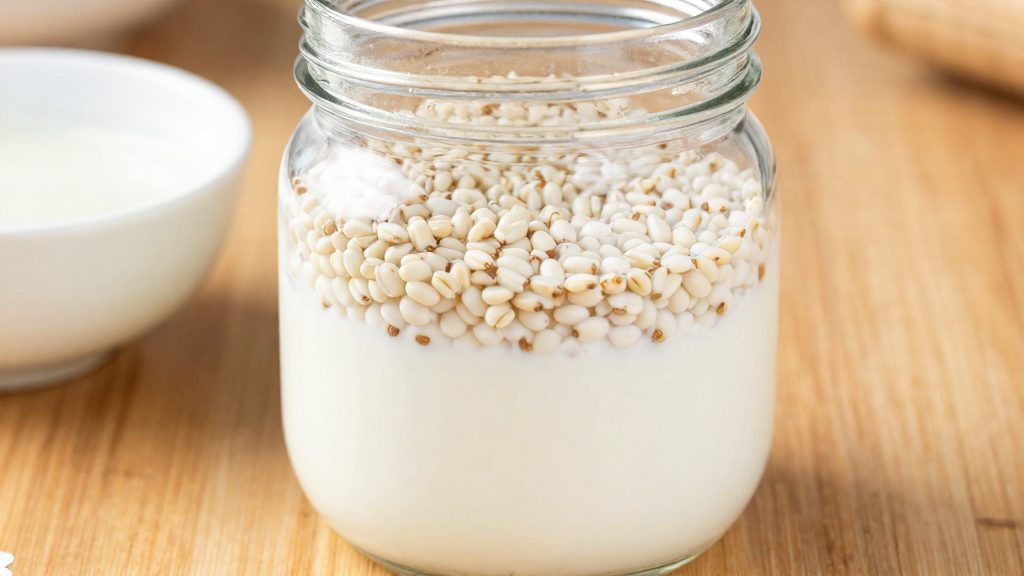
Freezing lets you pause a kefir culture during a break in brewing, such as a holiday or a period when you cannot keep up a daily batch, without throwing the grains away. According to Freshly Fermented (2026), milk kefir grains are frozen after they have been active for a couple of weeks, and water kefir grains are frozen in a single layer. Freezing keeps the culture in a stored state, but it does not hold it unchanged: viability falls gradually while the grains are frozen.
Why freeze a kefir starter culture?
When pausing makes sense
Pausing suits situations where regular brewing stops for longer than a few days and you want to keep a grain colony you have already built. Typical cases include travel, an extended absence from the kitchen, or a stretch when fresh milk or sugar water is not on hand for routine batches. Freezing does not replace daily maintenance, so it works best as a planned break rather than a way to skip care for a struggling culture.
Freezing compared with refrigerating
The trade-off between convenience and vitality
Freezing is convenient because it removes the need to brew on a schedule, but it trades some vitality for that convenience. In practice, this means a frozen culture may not return to its original balance of organisms, so the first batches after a break should be treated as a check on the culture’s condition rather than a guaranteed return to normal.
Pausing and viability are the core concepts here: freezing pauses the culture, and viability is the measure of what is lost.
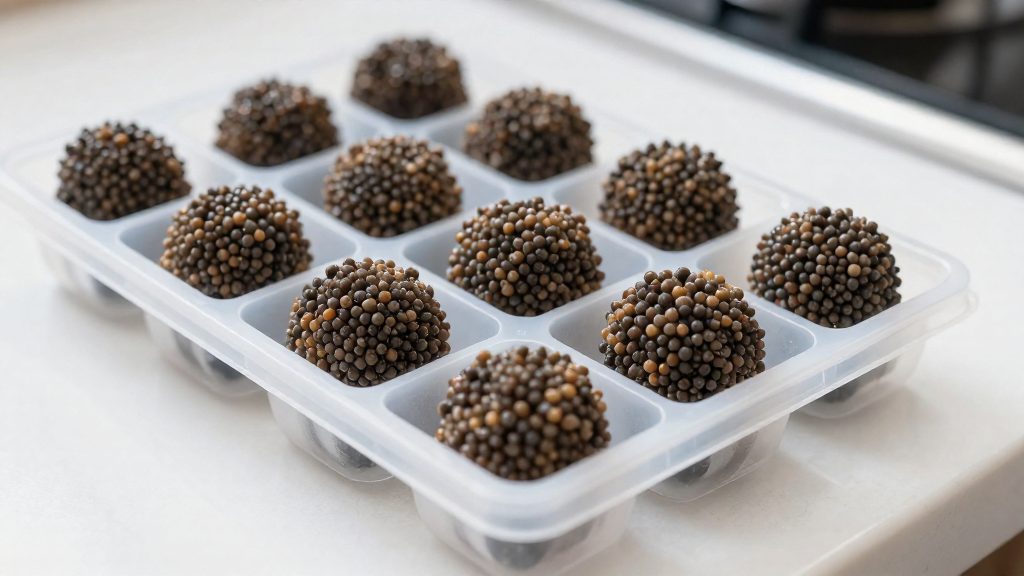
Milk kefir grains or water kefir grains: what changes?
Milk kefir grains and water kefir grains are not interchangeable, and the grain type determines which freezing route applies. Milk grains are maintained in dairy, while water grains are maintained in sugar water. Because each type is adapted to a different substrate, the preparation that suits one does not automatically suit the other. Identify the grain type before handling anything, then choose the route that matches it.
Different habitats and substrates
Milk grains develop in milk, so their microbial community is built around dairy proteins and lactose. Water grains develop in a sugar solution, so their community is built around sugar and the acids and carbonation that form from it. The medium a grain returns to after freezing reflects the medium it lived in before, which is why the two types cannot share one routine.
Why grain type determines the freezing route
| Grain type | Usual substrate | Freezing route |
|---|---|---|
| Milk kefir grains | Milk | Dairy-based route, with a powdered milk coating to limit freezer burn |
| Water kefir grains | Sugar water | Sugar-water route, with rinsing in cold non-chlorinated water and no dairy coating |
The table shows the logic rather than the full procedure. A dairy-based route suits grains kept in milk, and a sugar-water route suits grains kept in sugar water. Mixing the two gives the grains a preparation that does not match their habitat.
Matching grain type to your brewing routine
Choose the freezing route by looking at what you brew most often:
- Milk-only routine: Your backup culture is a milk culture, so freeze milk grains.
- Water-only routine: Freeze water grains, rinsed and patted dry, in a single layer in a labelled container.
- Both types: Keep the two grain types in separate, clearly labelled containers. A water-grain batch should never be stored in a container used for milk grains, or the two cultures can be confused when you thaw them.
How do you freeze milk kefir grains step by step?
Freezing milk kefir grains is a short preparation sequence: pick healthy grains, clean them, coat them, freeze them loose, then seal them. Each step below prepares the grains for the next one.
Step 1: Choose active grains
Select grains that have been fermenting regularly for a couple of weeks before you freeze them. Grains in steady use are the starting point, so freezing should not be used as a way to store grains that have been neglected.
Step 2: Rinse in cold, non-chlorinated water
Rinse the grains in cold, non-chlorinated water, or in a little milk. Then pat them dry. Keeping the water free of chlorine is the one condition the method specifies for this step, so use filtered or otherwise dechlorinated water if your tap water is treated with chlorine.
Step 3: Coat with powdered milk
Coat the damp-free grains in powdered milk. The source gives this step a specific purpose: the coating limits freezer burn. Make sure every grain is covered, not only the surfaces that happen to touch the powder.
Step 4: Pre-freeze in a single layer
Spread the coated grains in a single layer on a tray or plate and freeze them for a few hours. Freezing them spread out, rather than in a heap, lets each grain freeze as a separate piece, which makes the later steps easier.
Step 5: Seal in a labelled airtight container
Once the grains are pre-frozen, transfer them to a labelled airtight container. Close the container fully before returning it to the freezer.
How to freeze water kefir grains
Freezing water kefir grains is a shorter routine than the milk method because the powdered milk coat is left out. The routine has fewer steps, and the main difference is what you skip rather than what you add.
Where the water method departs from the milk method
Milk grains are dusted with powdered milk to limit freezer burn. Water grains do not need this protective layer, so the coating step is omitted entirely. Preparation is limited to rinsing and drying.
| Step | Milk kefir grains | Water kefir grains |
|---|---|---|
| Rinse | Cold non-chlorinated water or a little milk | Cold non-chlorinated water only |
| Drying | Pat dry | Pat dry |
| Powdered milk coat | Applied to limit freezer burn | Omitted |
| Freezing | Pre-freeze in a single layer, then move to a labelled airtight container | Freeze in a single layer in a labelled container |
Working through the water routine
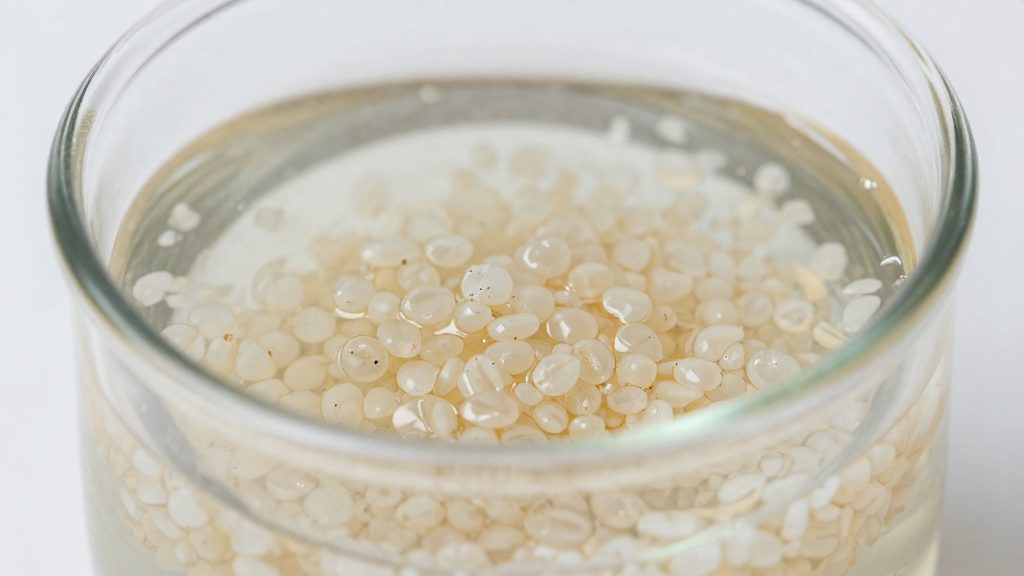
Start by straining the grains from their sugar-water base and rinsing them briefly in cold, non-chlorinated water. Pat them dry with a clean paper towel or cloth so that no excess water is frozen with the grains. Spread them out in a single layer rather than piling them. Then place them in a container.
Note that the water routine has no equivalent of the milk pre-freeze stage. The grains go straight into a single-layer freeze.
How long can frozen kefir grains last?
Frozen milk kefir grains keep for about six months, and some stay usable for up to a year, according to Freshly Fermented (2026). Viability does not end at a fixed date. It drops gradually across the freezer period, so grains frozen for longer are generally weaker when revived. Water kefir grains have a shorter documented window: a study cited by Freshly Fermented (2026) found they stayed viable for 30 days at -18°C.
| Grain type | Documented storage window | Source |
|---|---|---|
| Milk kefir grains | About 6 months; some up to 1 year | Freshly Fermented (2026) |
| Water kefir grains | 30 days at -18°C | Freshly Fermented (2026), citing a study |
Yeasts and lactococci decline faster than lactobacilli
The microbial groups in a grain do not decline at the same rate. Freshly Fermented (2026) reports that in water kefir grains, yeasts and lactococci declined more than lactobacilli during freezing. Lactobacilli are therefore the more persistent group in this case. The source does not describe how these groups behave in milk kefir grains, so that comparison should not be applied to them.
Using storage duration as a guide
- Treat the milk and water figures separately, because they apply to different grain types, and the water figure comes from a single study cited by Freshly Fermented (2026).
How do you thaw and revive frozen grains?
Reviving frozen kefir grains is a gradual process. You thaw the grains, place them in a fresh medium, and ferment them through several batches before the culture returns to full strength. The steps differ between milk and water grains, so identify which type you have before choosing a medium. According to Freshly Fermented (2026), a UK fermentation specialist, frozen milk kefir grains are thawed at room temperature before use, while water kefir grains are added to mild sugar water.
Thawing at room temperature comes first. Take the grains out of the freezer and let them come up to room temperature rather than warming them quickly. Once thawed, they are ready for their first batch.
| Grain type | Starting medium | Result to look for |
|---|---|---|
| Milk kefir grains | About 200 ml fresh milk | Thickens in about 24 hours and smells cleanly sour |
| Water kefir grains | Mild sugar water | Not carbonated during the first few batches |
For milk kefir grains, add about 200 ml of fresh milk to the thawed grains and let the jar ferment. Expect the first batches to be weak, so do not judge the culture by its early performance. A healthy batch thickens in about 24 hours. Repeat the cycle until the grains consistently produce that result.
For water kefir grains, add the thawed grains to mild sugar water, not milk. The source does not specify a sugar concentration. Do not try to carbonate the first few batches. Let the grains recover in the sugar water first, and move to carbonation only after the culture has rebuilt its activity.
When to discard and start fresh
After revival, a batch of milk kefir grains tells you whether it is healthy through three checks: smell, visible mould, and texture and colour. Those signs are the clearest reasons to stop and start again.
Off or rotten smells
A healthy batch smells cleanly sour, like fresh yogurt with a sharp edge. Discard the batch if it smells off or rotten instead. Smell is the first check to make, before you taste or strain anything.
Mould
Any mould on the grains or in the milk means the batch must be discarded. Do not try to scrape the mould off and keep the rest.
Mushy or discoloured grains
Healthy grains keep a firm, distinct shape. Discard grains that have turned mushy or discoloured after revival.
Healthy batch for comparison
| Check | Healthy batch | Discard |
|---|---|---|
| Smell | Cleanly sour | Off or rotten |
| Surface | No mould | Mould present |
| Grains | Firm, normal colour | Mushy or discoloured |
| Set | Thickens in about 24 hours | Not applicable; judge by the checks above |
Weak early batches are expected after thawing. Keep applying the smell, mould and texture checks to every batch, and discard it if any check fails.
Frequently asked questions
How long can frozen milk kefir grains stay usable?
According to Freshly Fermented (2026), frozen milk kefir grains keep for about 6 months, and some stay usable for up to a year. Older stock usually needs more revival batches before it performs well, so check how quickly it thickens milk, using the roughly 24-hour benchmark for healthy kefir, before relying on it for daily use.
What should I do if revived grains smell or look wrong?
Discard the batch if the grains produce off or rotten smells, show mould, or turn mushy or discoloured after revival, as Freshly Fermented (2026) advises. Weak first batches are expected, so a sour, clean smell from a thin batch is a better sign than a fast, strong one.
Can I freeze water kefir grains the same way as milk grains?
The method differs. Water kefir grains are rinsed in cold, non-chlorinated water, patted dry, and frozen in a single layer in a labelled container, without the powdered milk coating used for milk grains. A study cited by Freshly Fermented (2026) reports that water grains stayed viable for 30 days at -18°C, with yeasts and lactococci declining more than lactobacilli. When reviving them, add the grains to mild sugar water and hold off on carbonating the first few batches.