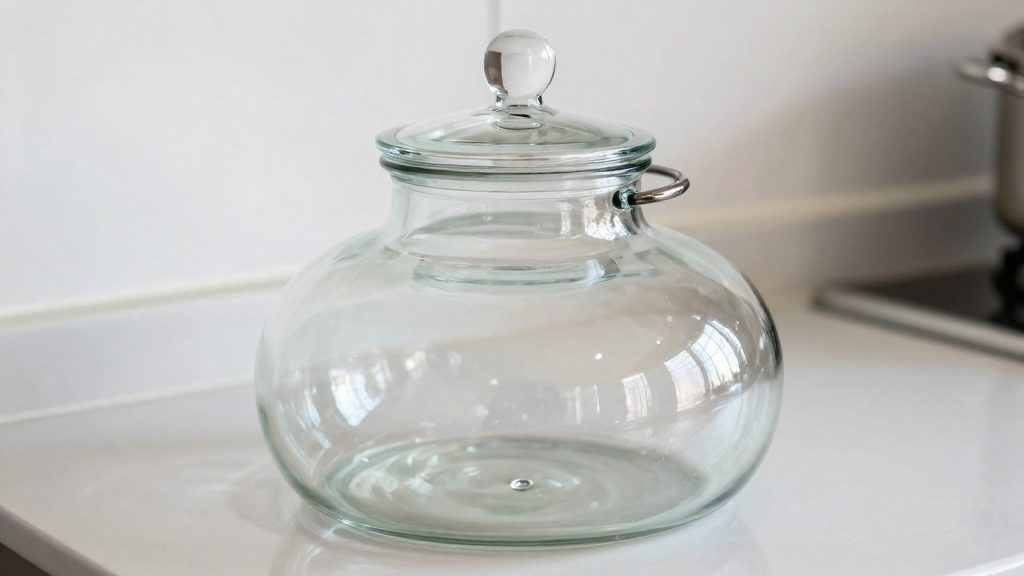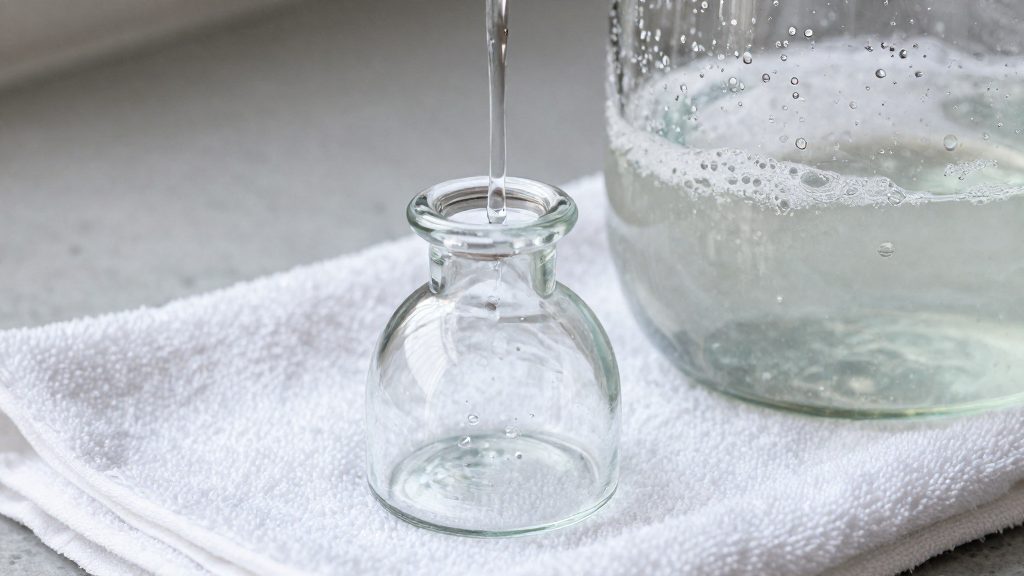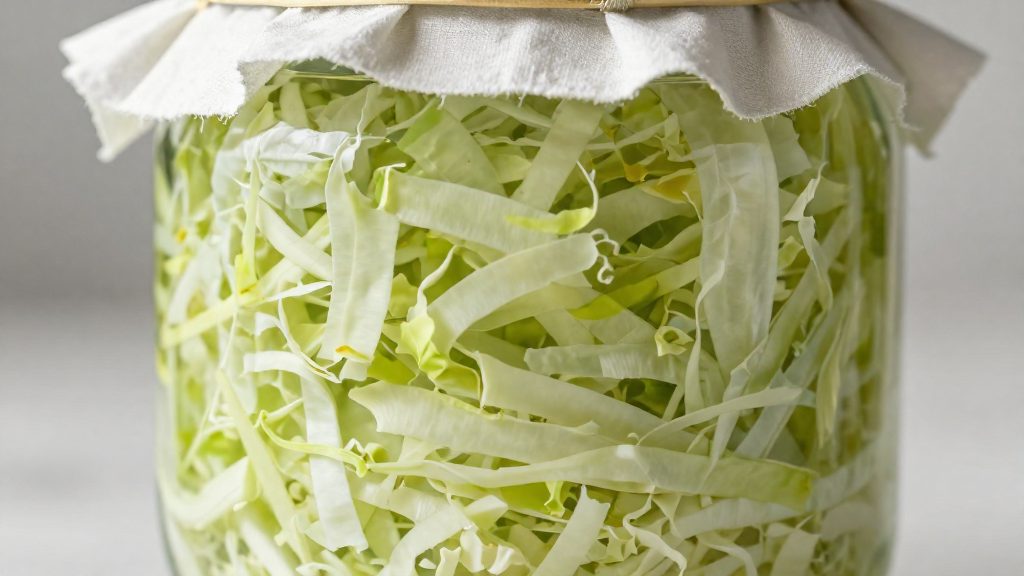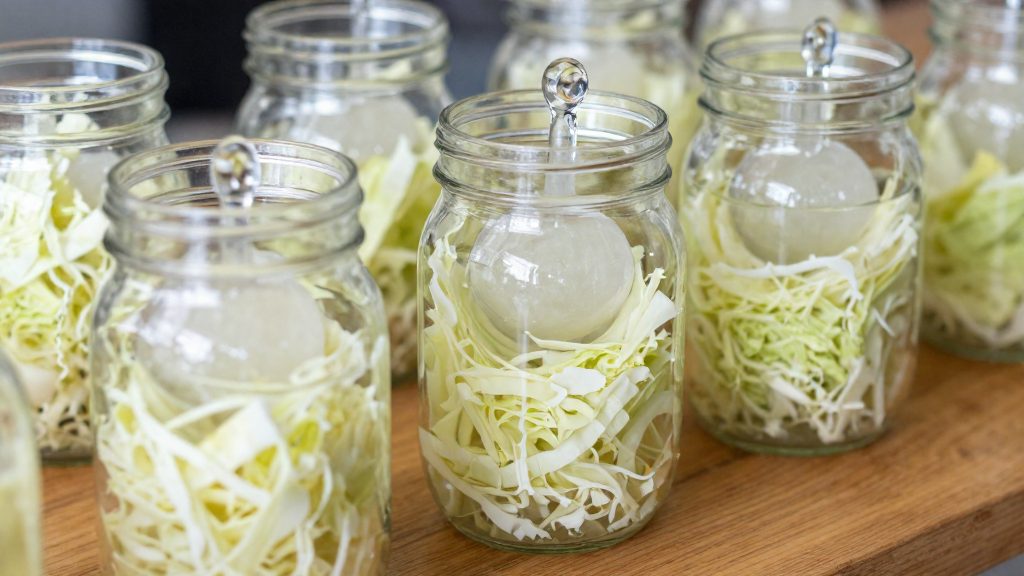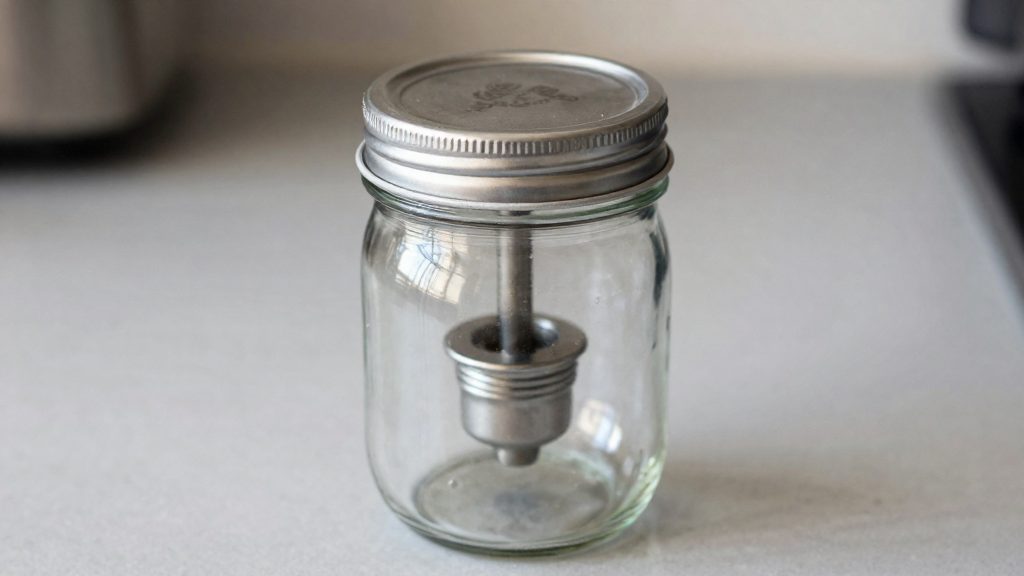
A fermentation lid lets carbon dioxide (CO2) escape from the jar during fermentation, which a standard flat lid does not do. Most fermentation lids are designed for wide-mouth jars, so the jar opening determines which lid you can use. Two main types are sold: silicone water-free valves and water airlocks. Each handles gas release and maintenance differently.
Why Use a Fermentation Lid on a Mason Jar?
Most fermentation lids are made for wide-mouth jars. Masontops also makes versions for small-mouth jars, according to Mayfair Farms (2026), so measure the jar opening before you buy.
Two Lid Types Compared
| Feature | Silicone water-free valve (Pickle Pipe type) | Airlock lid (water-filled) |
|---|---|---|
| Gas release | Releases CO2 | Releases CO2 through the water seal |
| Activity signal | Not described | Shows activity as bubbles |
| Maintenance | None required | Water level must be checked |
| Beginner recommendation | Most often recommended by the author for 2 to 4 week ferments | Not specified |
Source: Mayfair Farms (2026).
Why Beginners Often Start with a Valve
Silicone valves need no upkeep, so there is no water to top up. Mayfair Farms (2026) most often recommends them to beginners for ferments lasting 2 to 4 weeks. An airlock is useful when you want to see bubbles rising, but it only works if the water seal stays full.
Evidence from a Comparison Test
Mayfair Farms (2026) describes one comparison in which a jar with a plain lid had visible mold by day 5. A jar fitted with a Pickle Pipe showed no mold and no kahm yeast after 3 weeks. This was a single test by the author and was not independent, so treat it as an indication rather than proof.
Material Limits
- Stainless steel lids are a poor match for very salty or acidic brines, because they can corrode.
- Plastic lids cannot withstand sterilization in boiling water.
Source: Mayfair Farms (2026).
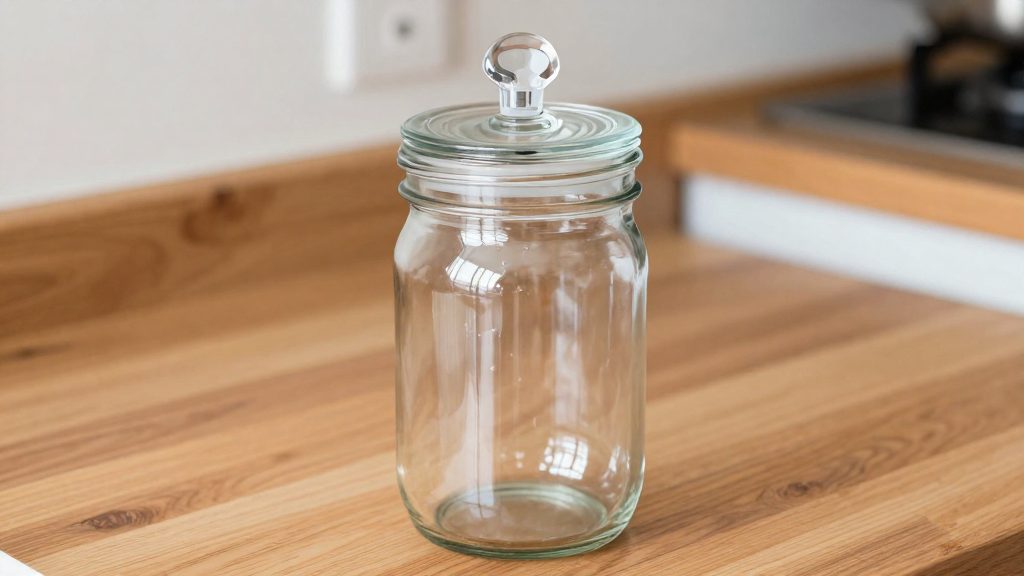
Types of Fermentation Lids for Mason Jars
Mason jar fermentation lids come in two main types: silicone one-way valves that release gas without water, and water airlocks that show activity through bubbles. A standard lid is the baseline for comparison, since it does not release gas on its own. Most fermentation lids are designed for wide-mouth jars, although Masontops also makes versions for small-mouth jars (Mayfair Farms, 2026). Choosing between them depends on jar opening, brine acidity and how much monitoring you want to do during the ferment.
Silicone one-way valves
Water-free silicone valves, such as the Pickle Pipe, let carbon dioxide escape and require no maintenance. Mayfair Farms (2026) recommends them most often to beginners for ferments lasting 2 to 4 weeks. The author’s comparison test also found a difference in results: a jar with a standard lid showed visible mold on day 5, while a jar fitted with a Pickle Pipe showed no mold or kahm yeast after 3 weeks. This was a single test and was not independently verified.
Water airlock lids
Water airlocks let you see fermentation activity through bubbles. The water level must be checked, because a low level lets outside air in.
Material compatibility
Lid material affects which brines and cleaning methods you can use.
| Lid material | Documented limitation | Source |
|---|---|---|
| Stainless steel | Poorly suited to very salty or acidic brines because of corrosion risk | Mayfair Farms (2026) |
| Plastic | Cannot withstand sterilization in boiling water | Mayfair Farms (2026) |
Which Lid to Choose as a Beginner?
Mason jar fermentation lids are mostly made for wide-mouth jars, so check the jar opening before you buy. According to Mayfair Farms (2026), Masontops also offers versions for small-mouth jars. For a first ferment, the main choice is between a lid that lets gas escape without water and one that uses water to show activity.
The two common options behave differently:
- No-water valves are made of silicone, such as the Pickle Pipe. They release CO2 without water and need no maintenance. Mayfair Farms (2026) most often recommends them to beginners for ferments lasting 2 to 4 weeks.
- Water airlocks show fermentation through bubbles, but you need to check the water level. Mayfair Farms (2026) notes this as the main upkeep task.
In one comparison reported by Mayfair Farms (2026), a jar with a plain lid had visible mold by day 5, while a jar fitted with a Pickle Pipe had no mold and no kahm yeast after 3 weeks. This was a single test and was not independent, so treat it as an indication rather than proof.
For most first batches, a no-water valve is the simplest choice. It needs no refilling and no water-level checks. Save the water airlock for when you want visible bubbling as a sign of activity and are willing to check it regularly.
Wide-mouth or narrow-mouth jar?
Most fermentation lids for Mason jars are designed for wide-mouth jars, which makes them the simplest starting point for a beginner. According to Mayfair Farms (2026), Masontops also offers versions for narrow-mouth jars. Measure the mouth of your jar before buying, because a lid only works if it seals the opening it was made for.
Lid types and their limits
- Masontops-type lids: mainly designed for wide-mouth jars, with narrow-mouth versions also available.
- Silicone valves without water (Pickle Pipe type): release CO2 and need no maintenance. Mayfair Farms (2026) notes that its author most often recommends these to beginners for ferments lasting 2 to 4 weeks.
- Water airlocks: show activity through bubbles, but the water level must be checked regularly.
What a comparison test showed
In one test reported by Mayfair Farms (2026), a jar with an ordinary lid had visible mold by day 5. A jar fitted with a Pickle Pipe showed no mold and no kahm yeast after 3 weeks. This is a single test and has not been independently verified, so treat it as an indication rather than proof.
Material constraints
| Material | Limitation (Mayfair Farms, 2026) |
|---|---|
| Stainless steel | Poorly suited to very salty or acidic brines, because the lid can corrode |
| Plastic | Cannot withstand boiling-water sterilization |
Practical selection steps
- Measure the inside diameter of the jar mouth and confirm whether it is wide or narrow.
- Choose a lid sized for that opening. Do not force a wide-mouth lid onto a narrow-mouth jar.
- If you want the least maintenance, prefer a water-free silicone valve for a first batch.
- If you choose a water airlock, check the water level at each inspection.
- Check the lid material against your recipe, especially if the brine is strongly salty or acidic.
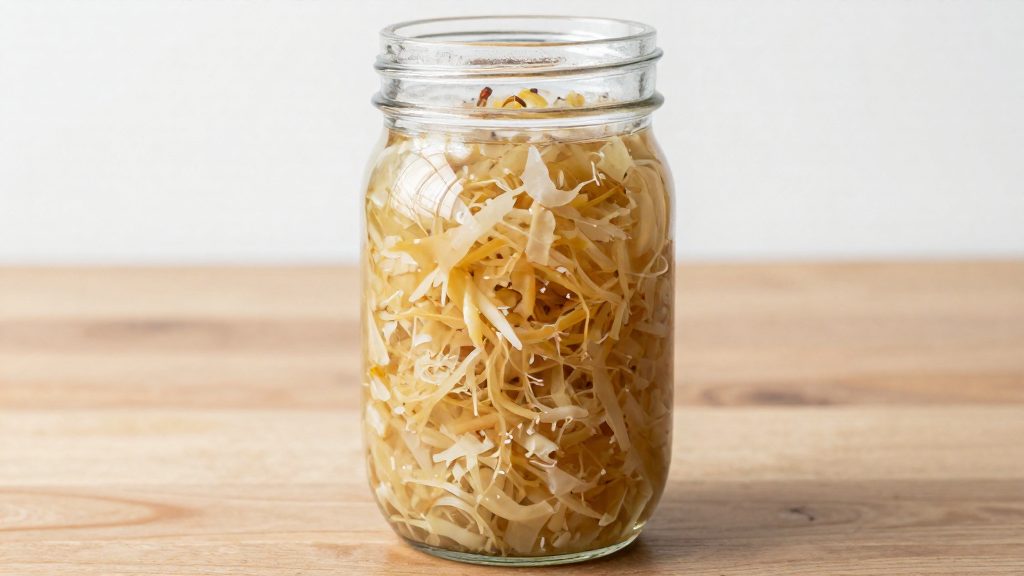
What Salt and Temperature for Sauerkraut?
Sauerkraut needs a measured amount of salt and a steady temperature. According to the National Center for Home Food Preservation (University of Georgia) (2026), a batch of about 5 lb (2.3 kg) of cabbage takes roughly 3 tablespoons of canning or pickling salt. The salt draws water out of the shredded cabbage to form the brine the ferment runs in, so weighing the cabbage before salting gives you a reliable batch size.
If the cabbage juice does not cover the vegetables during fermentation, top up with a backup brine of 1.5 tablespoons of salt per pint (about 475 mL) of water. Boil the water first, then let it cool before adding it. Do not add salt-free or unboiled water.
Fermentation Temperature and Timing
Temperature controls how long the ferment takes and whether it succeeds at all. The NCHFP (2026) gives the following guidelines:
| Room temperature | Approximate fermentation time | Outcome |
|---|---|---|
| 70 to 75 °F (21 to 24 °C) | About 3 to 4 weeks | Recommended range |
| 60 to 65 °F (15 to 18 °C) | About 5 to 6 weeks | Slower but workable |
| Below 60 °F | Not specified | Kraut may fail to ferment |
| Above 75 °F | Not specified | Kraut may become soft |
Choose a spot with stable warmth, away from heaters and sunny windows, so the ferment stays within the recommended range. Keep the crock or jar in the same place for the full fermentation period. A cool cellar or pantry can work if it stays within the 60 to 65 °F range.
How to Keep Vegetables Under the Brine
Vegetables that float above the brine are exposed to air and are more likely to grow surface mold or kahm yeast. Keeping them submerged is the main job of the weight and the lid. According to the National Center for Home Food Preservation (University of Georgia) (2026), sauerkraut should stay covered by its own juice throughout fermentation. If the juice does not cover it, add boiled and cooled brine.
Submerging with a weight is the usual method. The center notes that a weight is needed to keep the cabbage under the liquid, and a filled glass jar can serve as that weight. Leave headspace of 4 to 5 inches (about 10 to 13 cm) in the container, as the center recommends, so the brew does not overflow when it bubbles.
Check the jar 2 to 3 times a week, remove any scum that forms on the surface, and top up with brine if the level drops. For a top-up brine, use 1.5 tablespoons of salt per pint of water, boiled and then cooled.
The lid determines how gas escapes without letting air back in. Mayfair Farms (2026) reports the following trade-offs:
| Lid type | How it keeps vegetables sealed | Upkeep and notes |
|---|---|---|
| Silicone valve (Pickle Pipe type) | Releases CO2 without water | No maintenance; the author most often recommends it for beginners, for 2 to 4 week ferments |
| Water airlock | Bubbles through water | Shows activity, but the water level must be checked |
| Plain lid | No valve | In one author test, visible mold appeared by day 5; a Pickle Pipe jar showed no mold or kahm yeast after 3 weeks (a single, non-independent test) |
What to do about scum or mold?
Scum and mold are different problems, and the response depends on which one you see. A flat white film on the brine is usually kahm yeast. Fuzzy, colored growth on or above the vegetables is mold. A lid that releases gas may help, but the only evidence here is a single test, so it does not show that a lid changes how often either appears. In a comparison test reported by Mayfair Farms (2026), a jar with a plain lid had visible mold by day 5, while a jar fitted with a Pickle Pipe showed no mold or kahm yeast after 3 weeks. That was a single, non-independent test, so treat it as one data point, not a guarantee.
Skimming surface scum
The National Center for Home Food Preservation (University of Georgia) (2026) advises keeping the cabbage submerged under a weight and checking the container 2 to 3 times per week. Remove scum at each check. Use a clean spoon to lift off the film, and avoid disturbing the vegetables underneath.
If the brine no longer covers the cabbage, add brine made from boiled water that has been cooled. For top-up brine, the same source gives a ratio of 1.5 tablespoons of salt per pint of water. Keep 4 to 5 inches of headspace in the container so the brine does not overflow during active fermentation.
Telling scum from mold
| Observation | Likely cause | Response |
|---|---|---|
| Thin white film on the brine | Kahm yeast | Skim it off, keep the vegetables submerged, and continue fermenting |
| Vegetables exposed above the brine | Insufficient coverage | Add top-up brine, then reweigh the vegetables |
| Fuzzy growth in any color | Mold | Discard the batch |
Also judge by smell and texture. A sour, pickled smell is expected. A rotten or putrid odor is not.
Frequently asked questions
Which jar opening do I need to measure before buying a lid?
Most fermentation lids fit wide-mouth jars, so check the diameter of the opening before you order. Masontops also sells versions for smaller openings, according to Mayfair Farms (2026).
Should a beginner choose a silicone valve or a water airlock?
Mayfair Farms (2026) most often recommends a water-free silicone valve to beginners for ferments lasting 2 to 4 weeks, since it needs no upkeep. An airlock lets you watch bubbles rise, but you need to keep its water seal topped up.
Can I use stainless steel or plastic lids for a salty or acidic brine?
Stainless steel is a poor match for very salty or acidic brines because the lid can corrode, according to Mayfair Farms (2026). Plastic lids cannot be sterilized in boiling water, so sterilize them by another method or use a different lid.